
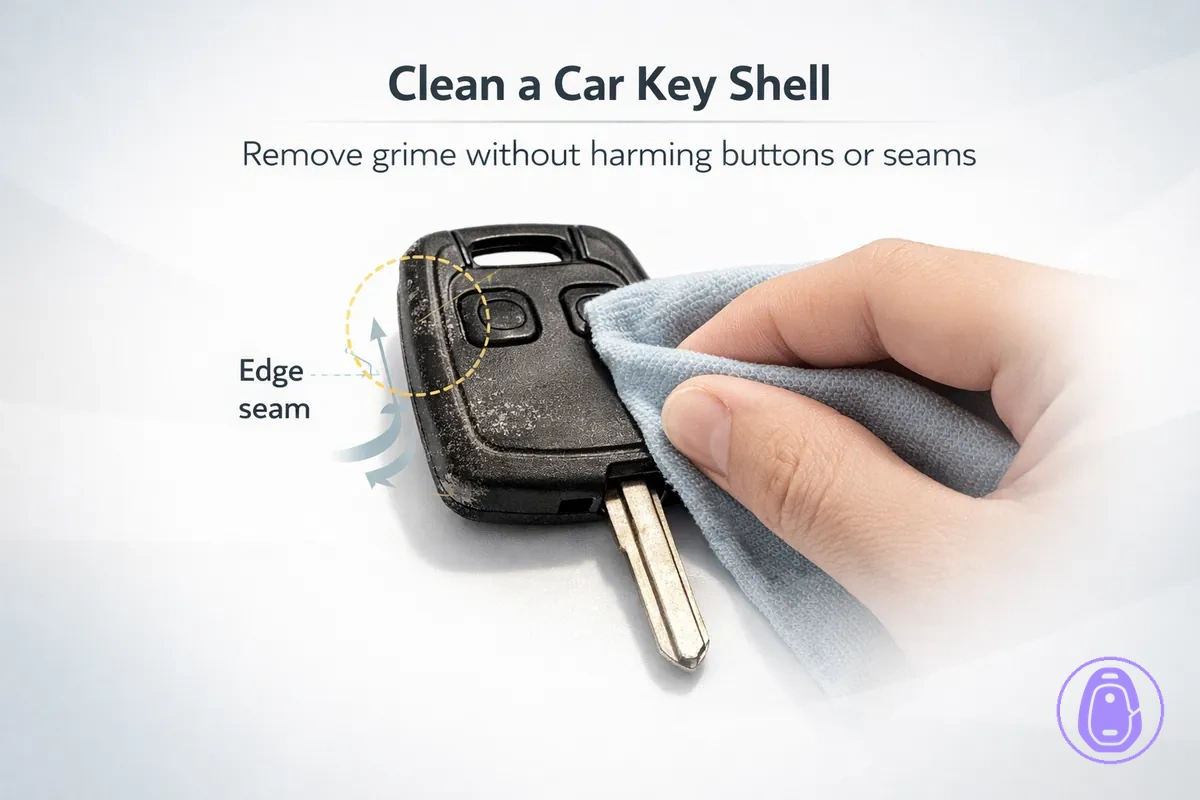
Cleaning and Caring for a Car Key Shell Without Damaging Buttons or Seams
Cleaning the car key shell preserves protection for its internal electronics by targeting external surfaces, seam lines, and button contact areas.
Trapped dirt in seams and crevices often builds up from daily handling, while sticky buttons can result from grime causing friction. Gentle cleaning can improve grime-related sticking on buttons, but persistent non-response or moisture signs point to internal faults beyond external care. Back to care hub
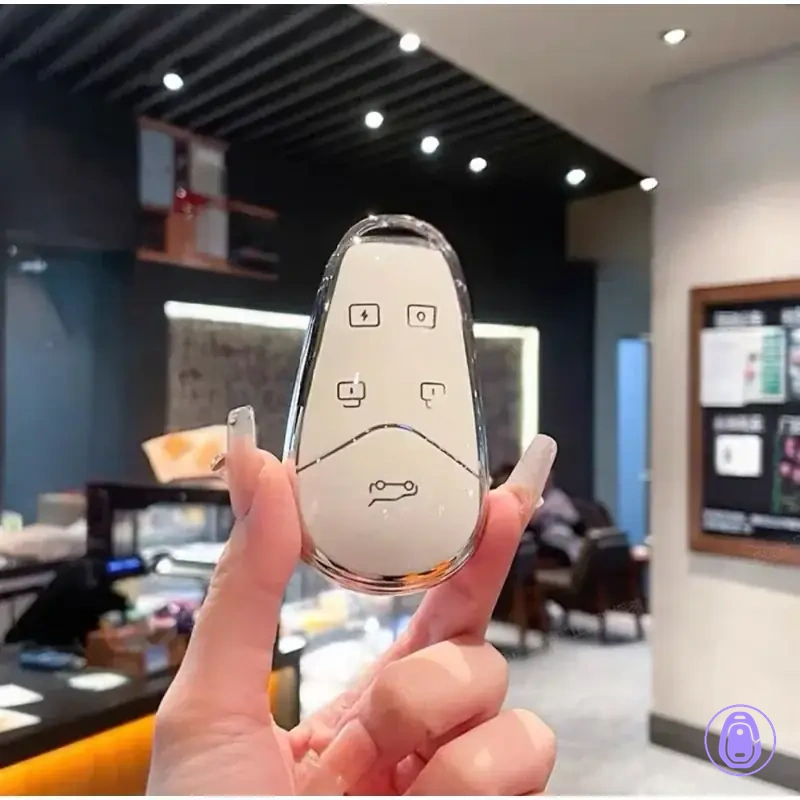
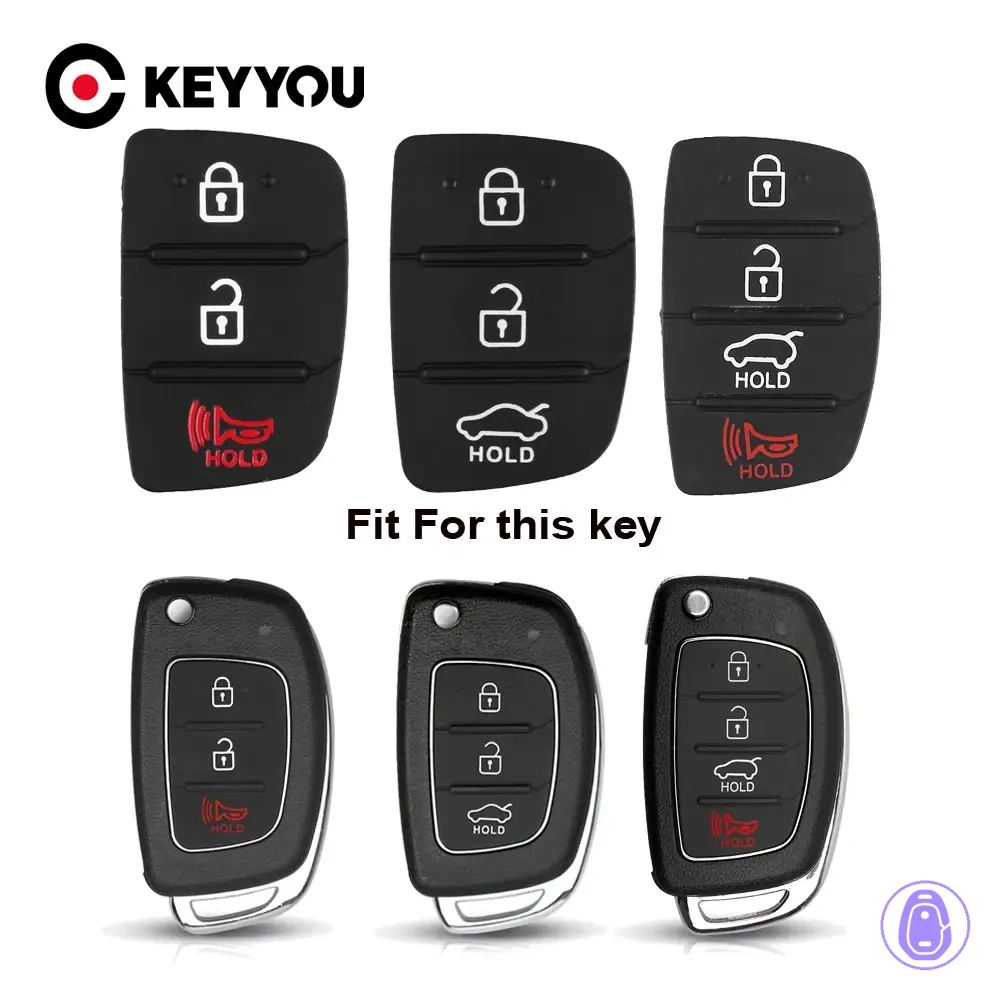
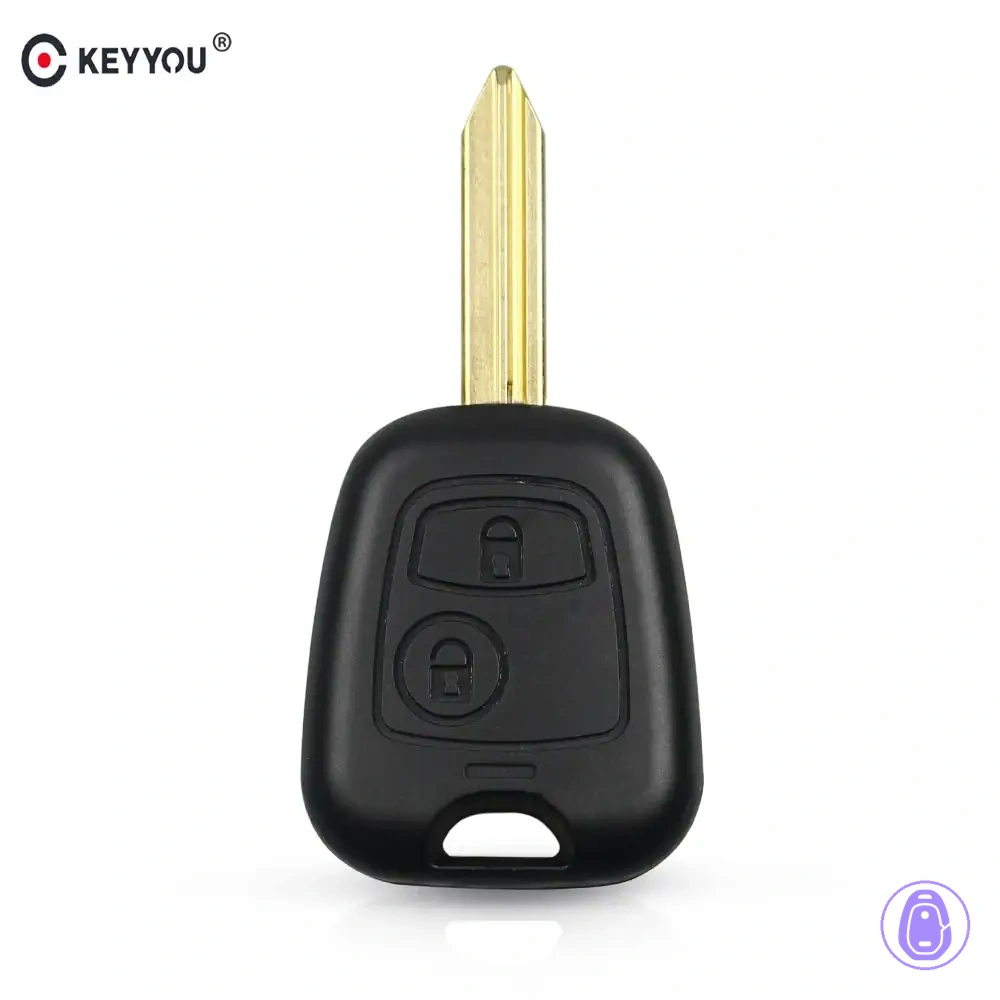

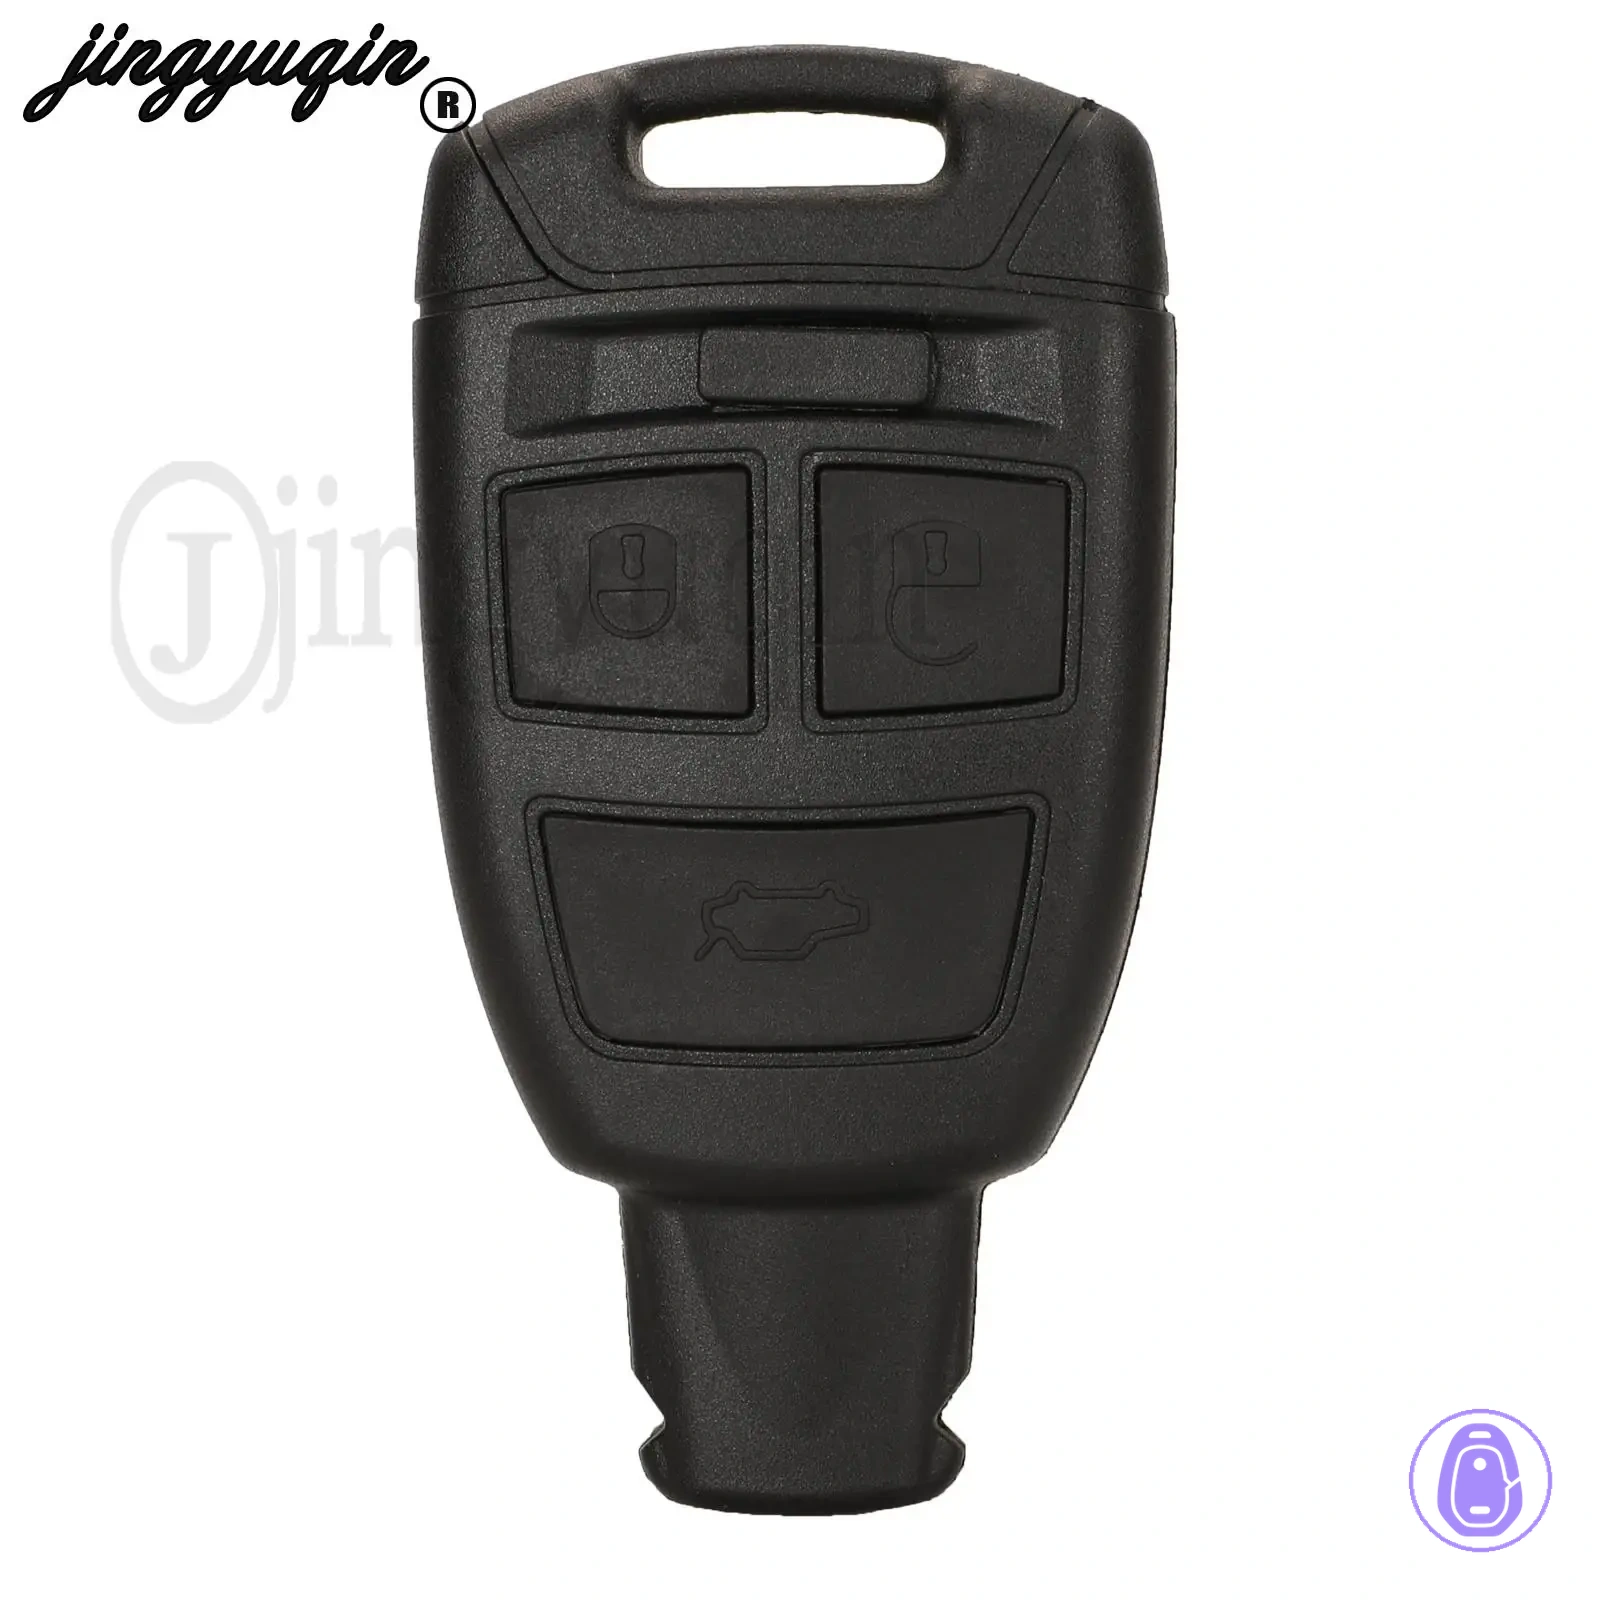
Use the least aggressive cleaners first to protect coatings and printed legends from fading. Excess liquid or harsh chemicals can seep into seams and crevices, trapping more dirt or reaching buttons and electronics.
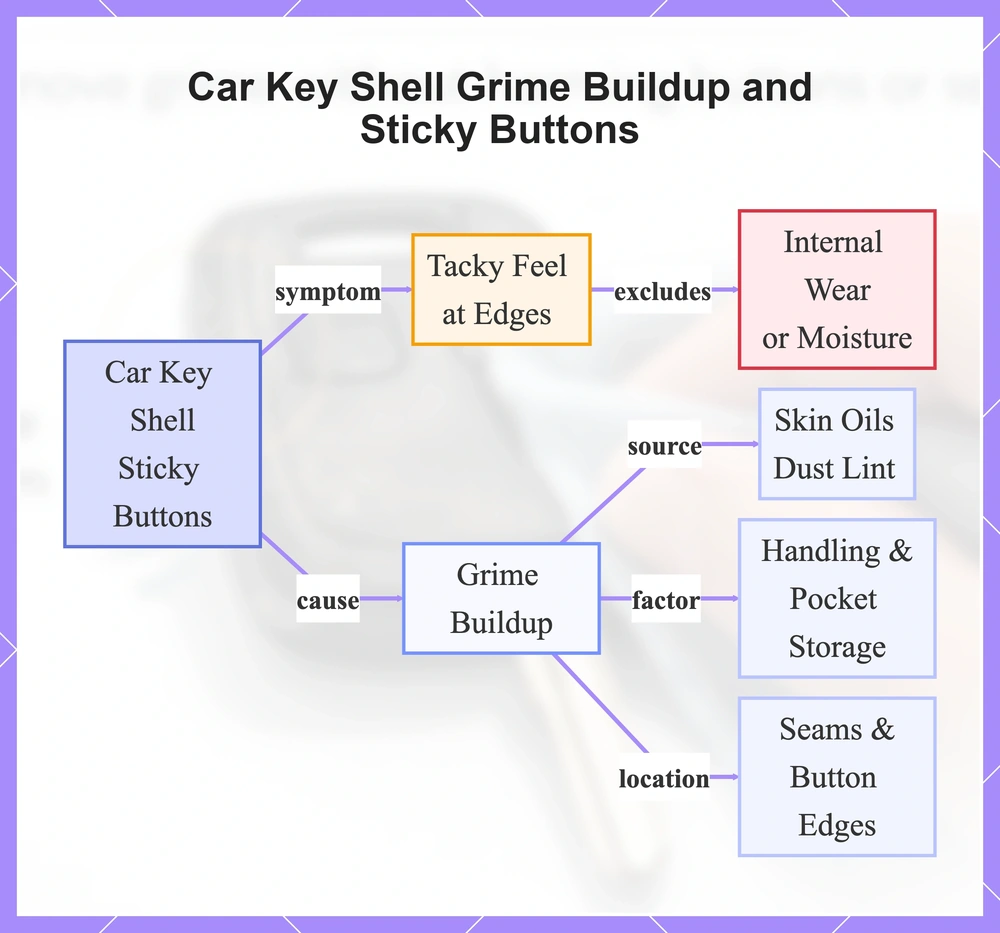
Car key shell dirt and grime: where it builds up and why it causes sticky buttons
Grime buildup on car key shells comes from skin oils, dust, and lint picked up during handling and pocket storage. These form residues that stick to the shell surface over time. Layers can build extra friction at seams and button edges, making presses feel tacky or uneven.
Grime gets trapped in seams and recesses. These hold debris because daily friction pushes it deeper instead of shedding it.
- Button perimeter
- Seam line
- Keyring side
- Logo recess
- Edge grooves
Grime-caused sticking typically feels tacky at the edges, unlike inconsistent clicks or non-response that may point to internal wear or moisture.
This flowchart shows the sources, trapping locations, and tacky edge symptom of grime causing car key shell sticky buttons, excluding internal issues.
Key shell materials and surface finishes that change the safest cleaning approach
The material and finish of a key shell determine the safest cleaning method to avoid scuffing or fading.
Hard plastic surfaces handle mild cleaners much better than coated areas. Rubbing or excess moisture can strip layers there and cause fading.
Soft-touch coatings can fade and lose tackiness from rubbing, while printed legends may transfer under solvent or light pressure.
One cleaner can scuff glossy finishes but clean matte finishes or bare hard plastic safely.
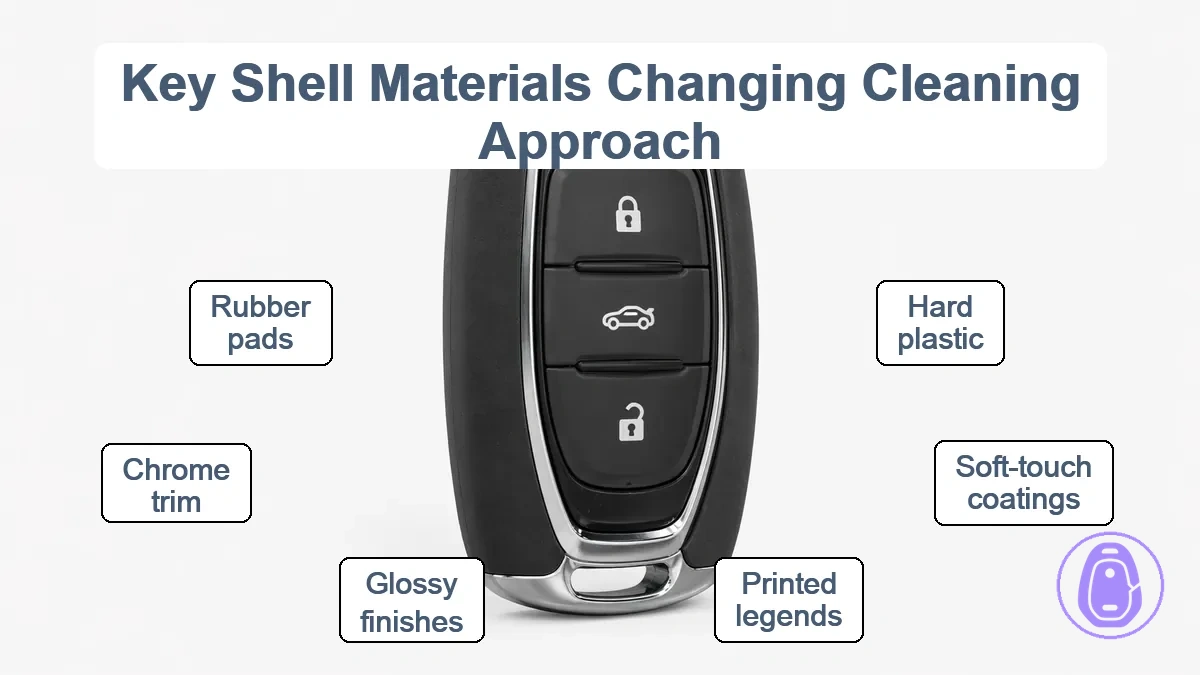
Chrome-look trim can get micro-scratches and dulling from abrasives.
Rubber button pads can soften from harsh chemicals.
For uncertain finishes, test first on a small inconspicuous area with minimal moisture and light pressure, avoiding disassembly.
When in doubt, use the gentler method.
Cleaners and tools that are safe for key fob shells, rubber buttons, and seams
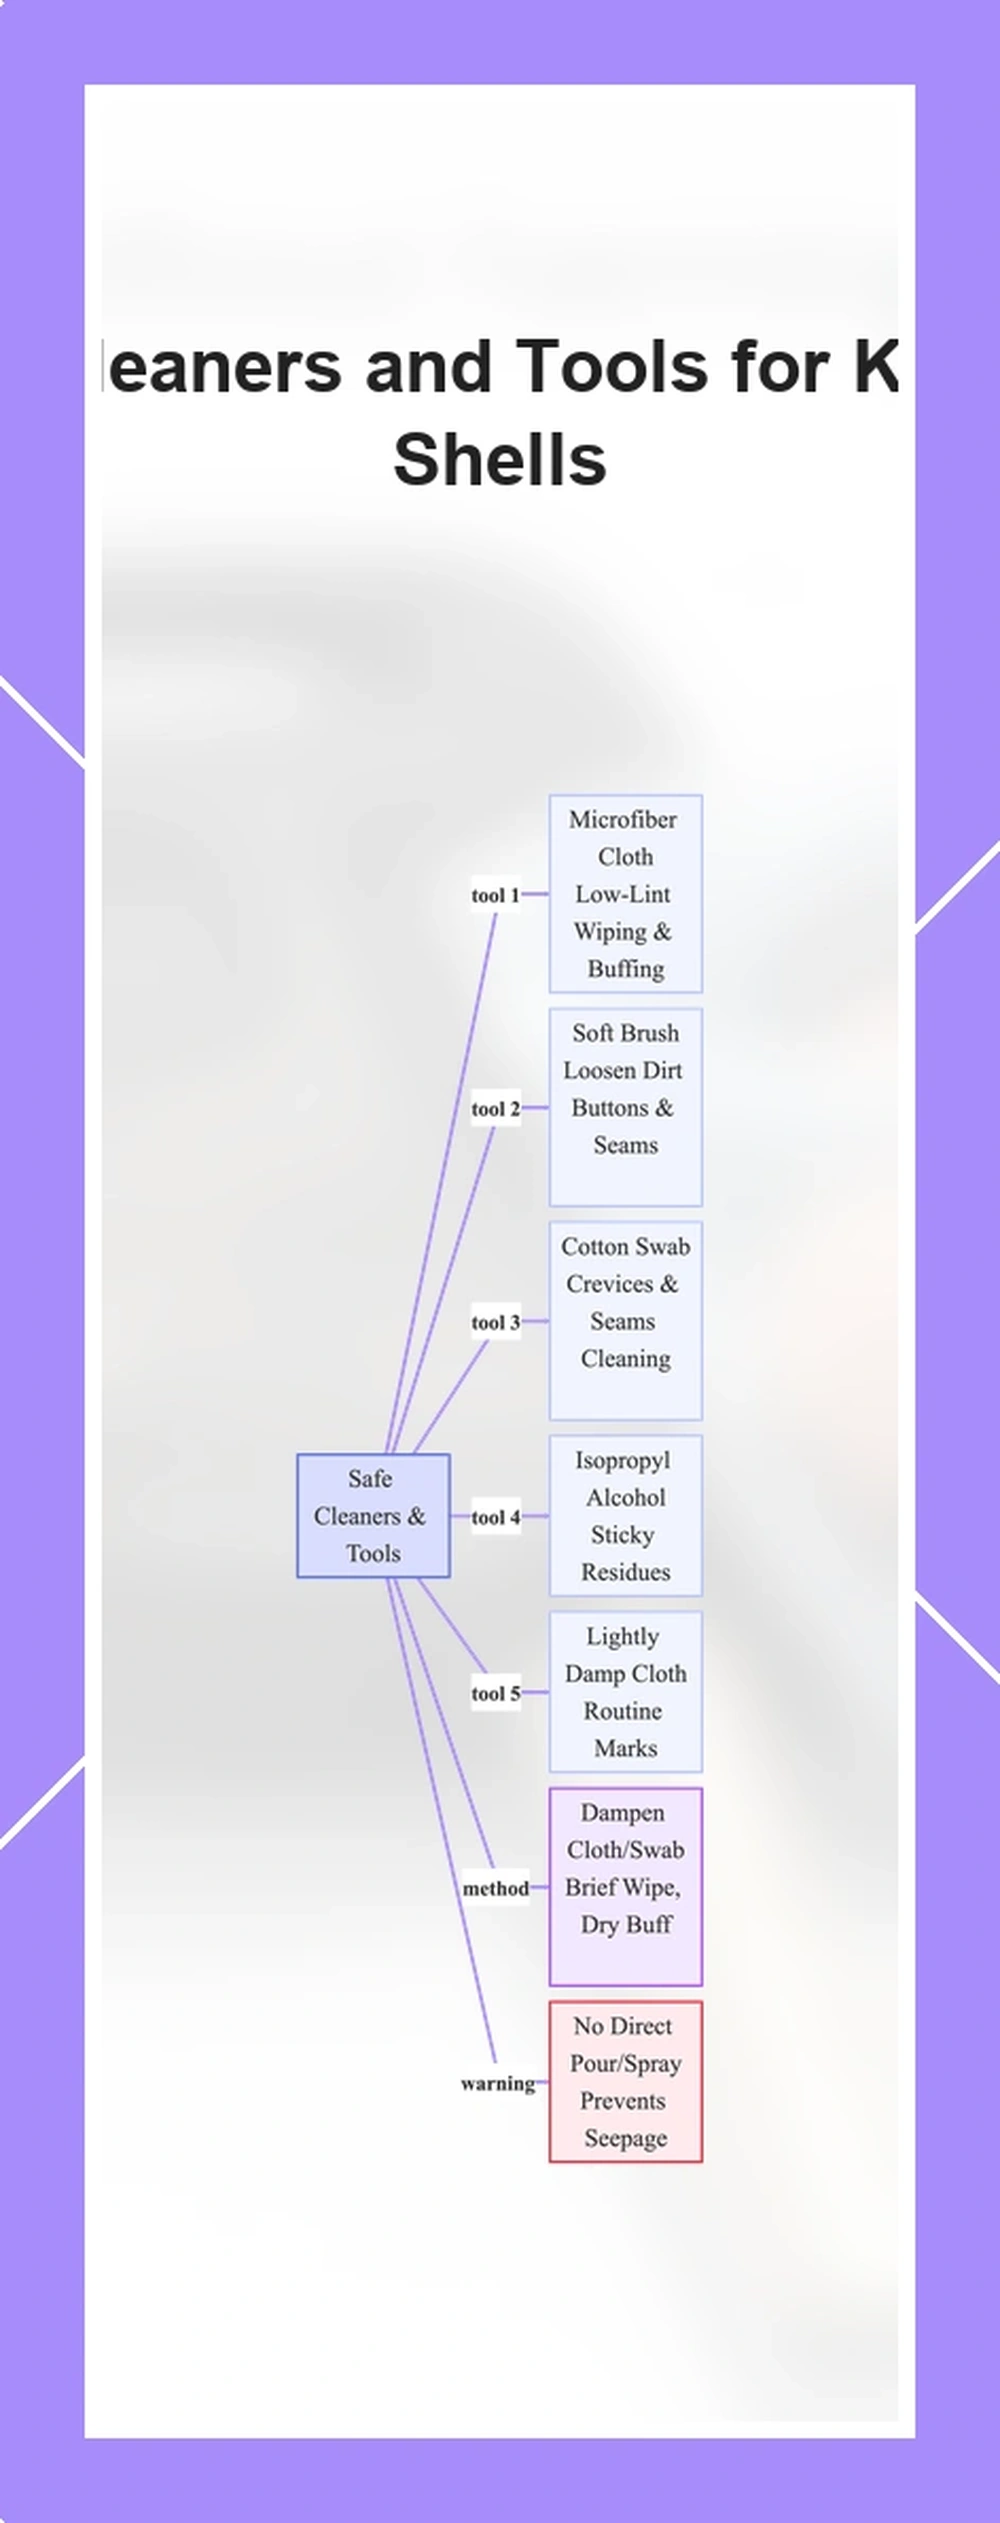
Use a minimal kit of cleaners and tools to clean grime from key fob shells, rubber buttons, and seams without stressing printed legends or delicate edges. Start dry, escalate gently to the least aggressive option that removes the residue.
- Microfiber cloth for low-lint wiping and dry buffing of surfaces
- Soft brush to loosen dirt from buttons and seams
- Cotton swab for controlled cleaning in crevices and around seams
- Isopropyl alcohol applied to cloth or swab for sticky residues
- Lightly damp cloth for routine marks that dry tools miss
Dampen a microfiber cloth or cotton swab with liquids like isopropyl alcohol, wipe briefly with short contact, then wipe off and dry buff. This prevents seepage into seams or buttons.
Do not pour or spray liquids directly onto the key fob shell.
This flowchart lists safe cleaners and tools for key fob shells, rubber buttons, and seams, along with usage method and key warning.
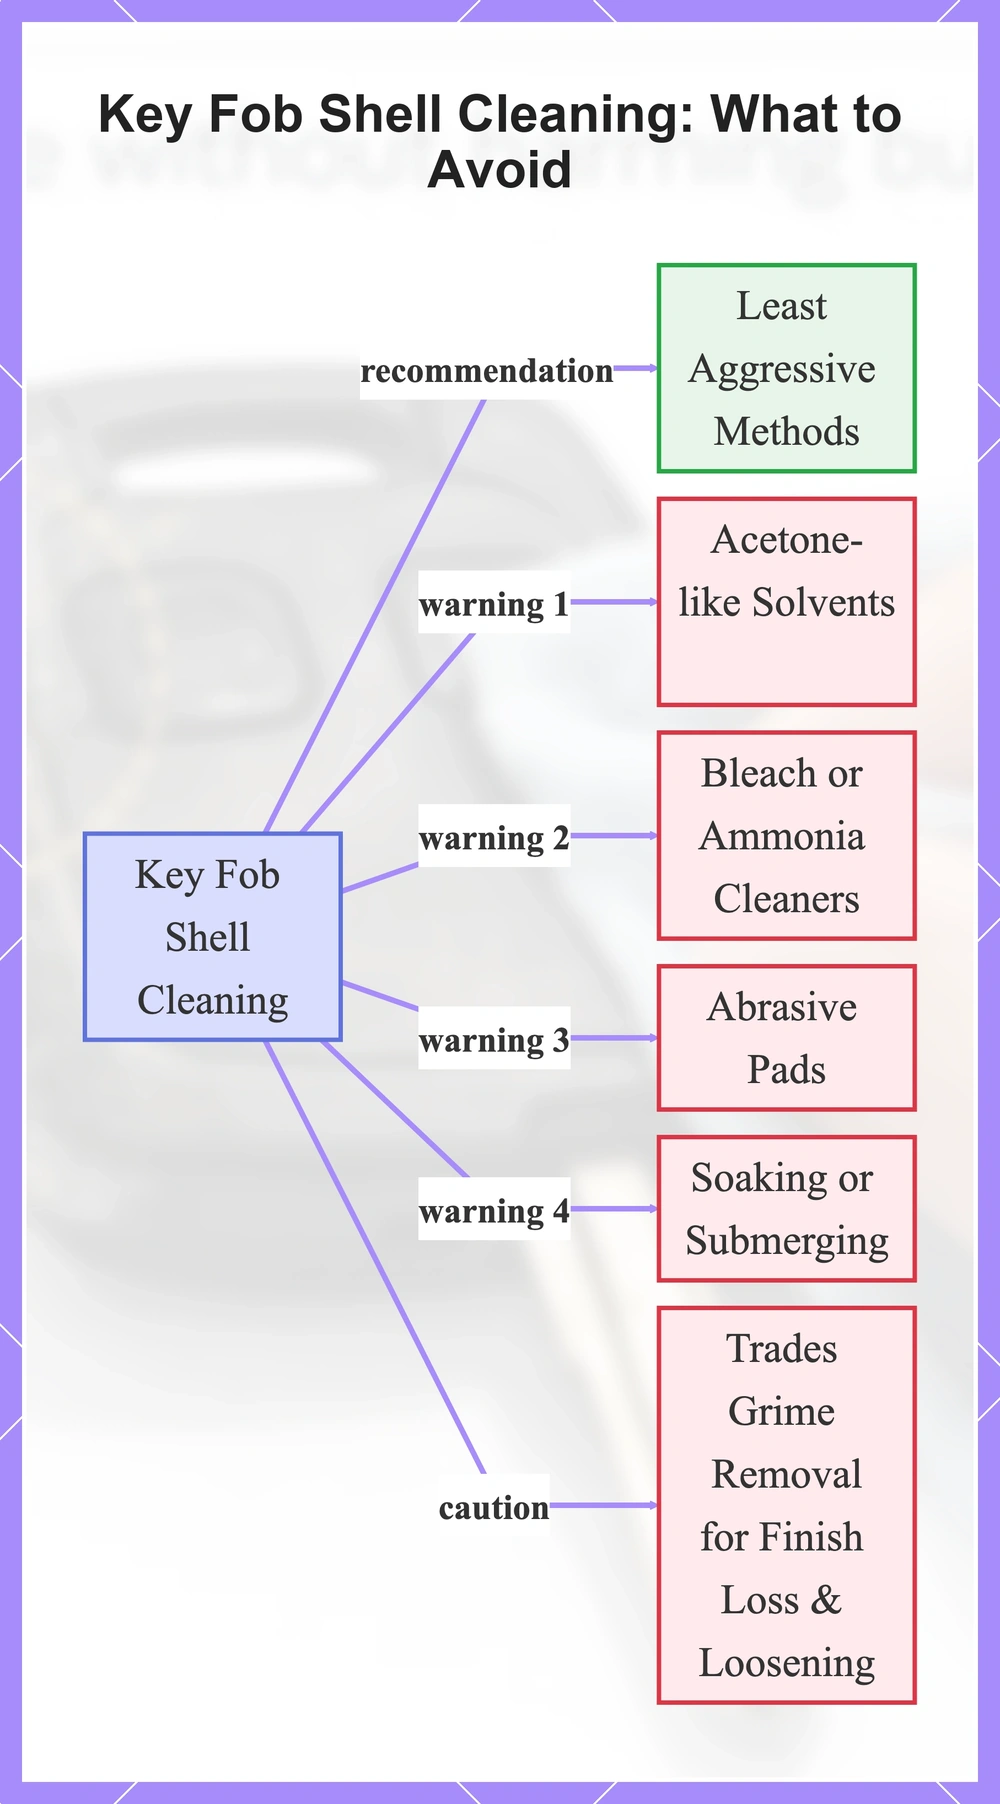
What to avoid when cleaning a key fob shell to prevent fading, cracking, or seam separation
Stronger cleaners seem ideal for key fob shells, but they trade quick grime removal for lasting damage like fading on soft-touch finishes or seam separation. Surface damage risks fading and dulling, while seam/gap damage risks separation and loosening. Start with the least aggressive methods to protect the shell's integrity.
- Acetone-like solvents: Harsh solvents cause fading on soft-touch coatings and leave them tacky.
- Bleach or ammonia cleaners: These degrade printed legends and promote cracking.
- Abrasive pads: Abrasives create micro-scratches and dull chrome-look accents.
- Soaking or submerging: Moisture enters seams and causes separation.
- High heat from drying: Heat warps plastic, weakens seams, and causes cracking.
- Prying tools into seams: Forcing tools loosens bonds and causes seam separation.
- Aggressive scrubbing over icons: This wears printed legends and fades soft-touch grips.
Caution: Stronger methods trade short-term grime removal for long-term finish loss and seam loosening. See Preventing cracks and wear for steps on protecting against cracks and wear.
This flowchart lists essential practices to avoid and a key principle for cleaning key fob shells to prevent fading, cracking, or seam separation.
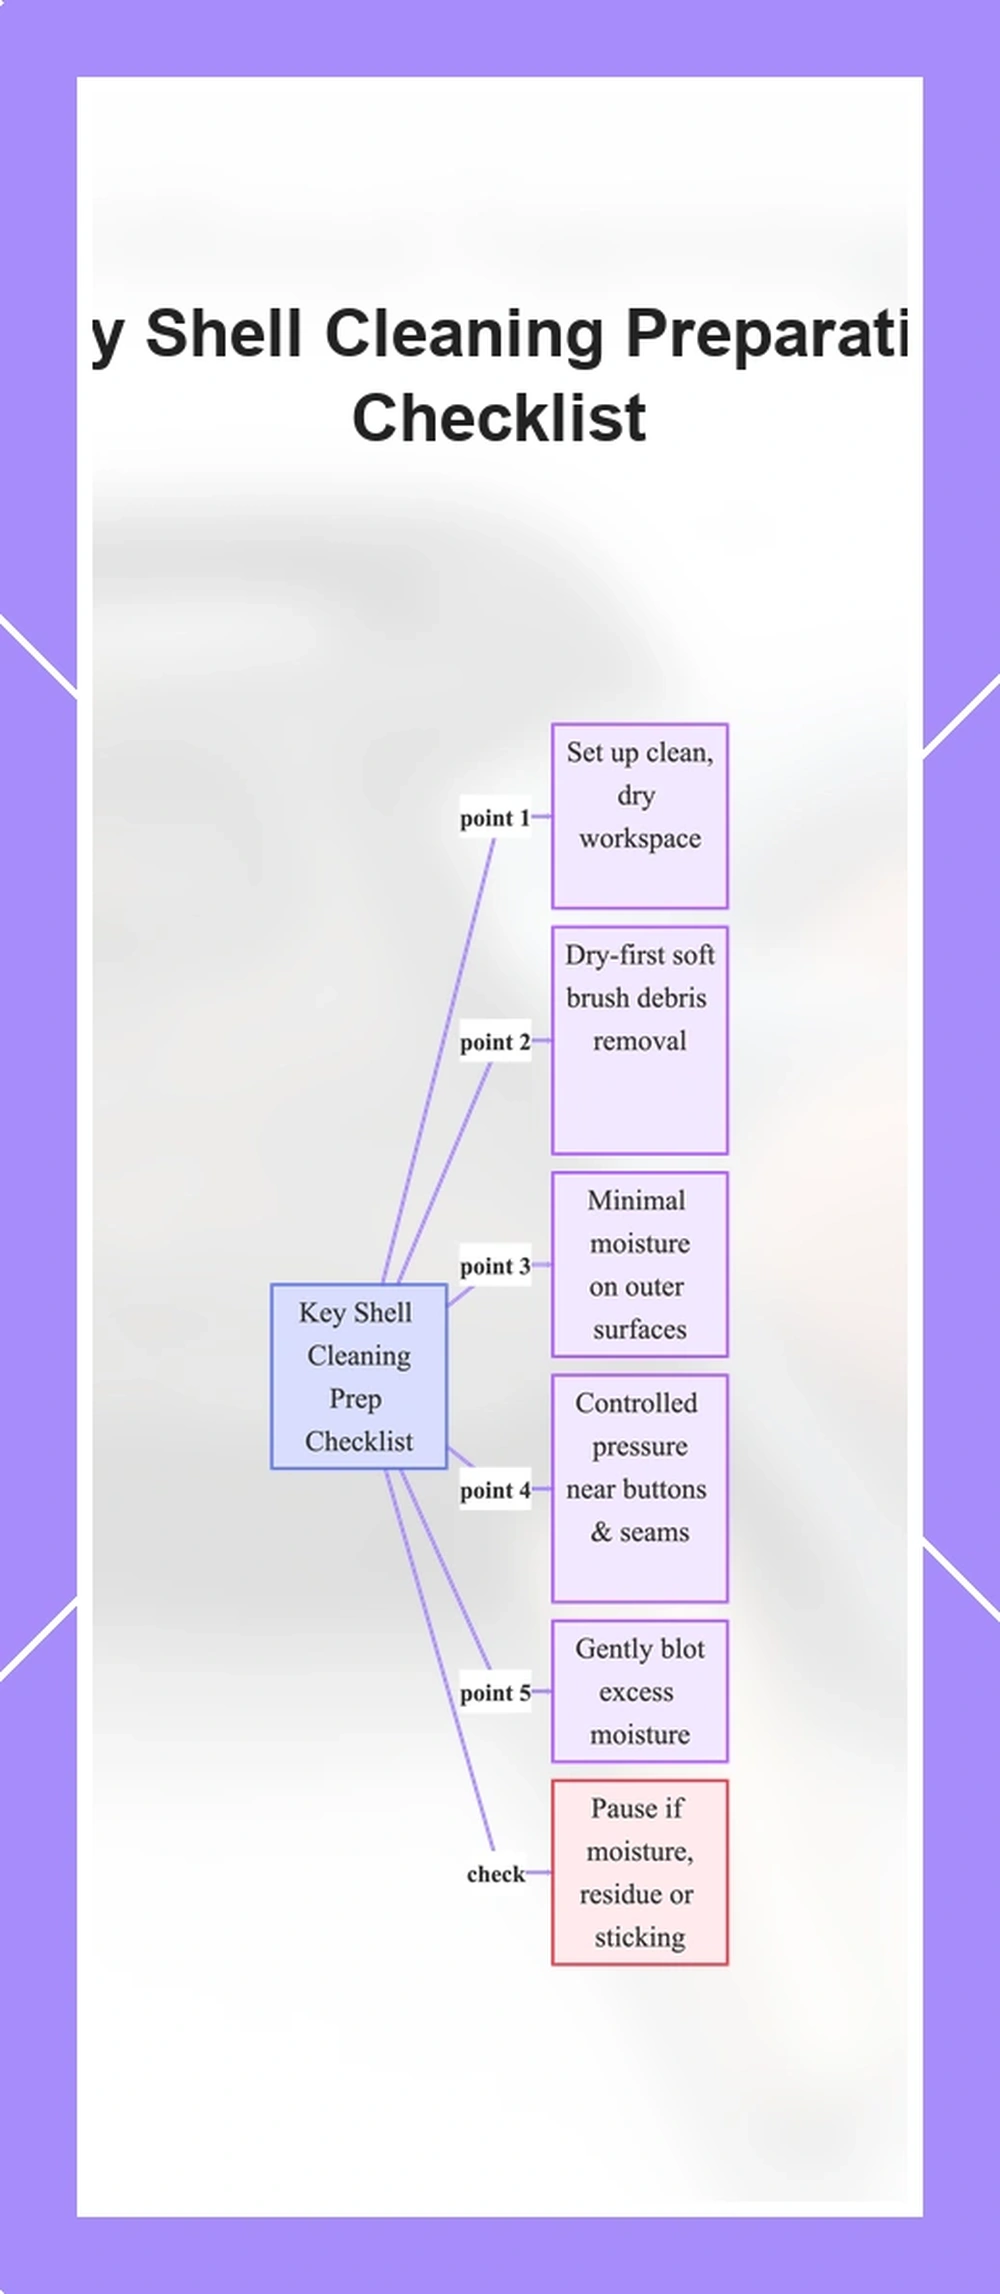
Preparation and handling steps that reduce moisture risk and button wear
Follow a preparation routine to cut moisture risk into openings and prevent stress on buttons and seam lines during car key shell cleaning.
Use workspace setup, dry-first methods, minimal moisture, and controlled pressure to protect printed legends and icons from wear, seepage, or corrosion. Preparation cuts damage risk more than “stronger cleaner” choices. Follow this checklist before every cleaning session.
- Set up a clean, dry workspace; avoid humid or cluttered surfaces that trap moisture.
- Start dry-first debris removal with a soft brush; avoid wet wiping that brings in moisture too soon.
- Wipe dust from the shell with a dry microfiber cloth; avoid liquid until needed.
- Work small areas at a time; avoid cleaning the whole shell to prevent spreading.
- Apply minimal moisture just to outer surfaces; avoid seepage into openings like button gaps.
- Use controlled pressure near buttons and seam lines; avoid rubbing printed legends and icons.
- Gently blot excess moisture right away; avoid rubbing that damages finishes.
Pause if you see visible moisture, corrosion-like residue, or sticking that worsens under gentle cleaning.
This flowchart outlines the key checklist points for preparation and handling to minimize moisture risks and button wear during car key shell cleaning.
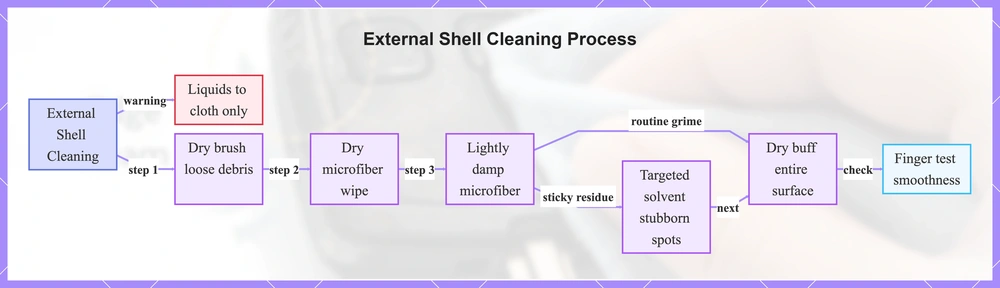
External shell cleaning process for removing grime without dulling the finish
Clean the exterior shell using a low-force, low-moisture sequence: dry brush and dry microfiber wipe first to remove loose debris, then lightly damp microfiber for surface residue, targeted solvent only for stubborn spots with short contact time, and dry buff at the end for a clean feel. This reduces dulling risk on the finish. Apply all liquids to the cloth, not the shell.
Follow these steps, adapting for routine grime or sticky residue:
- Routine grime: Dry brush and lightly damp microfiber often suffice with gentle pressure.
- Sticky residue: Advance to targeted solvent after damp wipe.
- Dry brush: Use a soft dry brush with gentle pressure in one-direction strokes to lift debris; stop when no loose particles remain.
- Microfiber wipe: Fold clean dry microfiber cloth and wipe all exterior surfaces; stop after even coverage.
- Lightly damp microfiber: Dampen microfiber lightly with water, wring thoroughly, wipe gently with short contact, then wipe off dry immediately; stop if residue lifts.
- Targeted solvent: Apply solvent to cloth corner only, dab stubborn residue with short contact time, wipe off promptly; stop if pigment transfers or no change.
- Dry buff: Buff entire surface with clean dry microfiber using gentle pressure; stop when smooth to the touch.
Run a finger across the finish to confirm smoothness. For soft-touch or printed legends, apply lighter pressure and test first.
This flowchart shows the progressive low-force, low-moisture steps to clean external shell grime without dulling the finish, adapting for routine versus sticky residue.
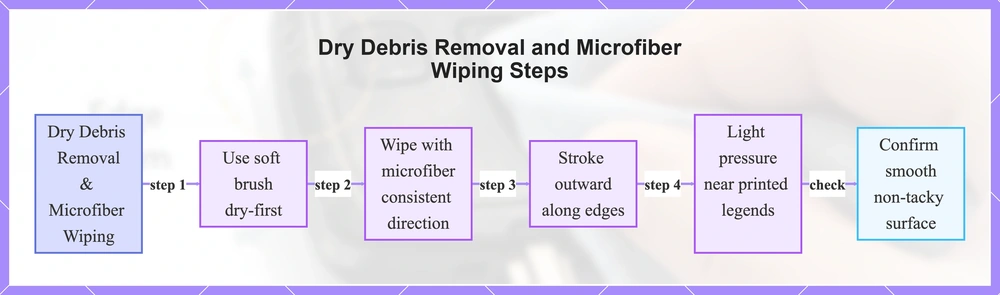
Dry debris removal and microfiber wiping for routine cleaning
- Use a soft brush dry-first to lift loose debris and lint from all surfaces.
- Wipe with microfiber in a consistent wipe direction to pick up remaining particles and surface oils.
- Stroke outward along edges for seam-safe wiping to avoid pushing debris inward.
- Use light pressure near printed legends to finish and preserve details.
- Confirm the surface feels smooth and not tacky.
This flowchart shows the sequential steps for routine cleaning with dry debris removal and microfiber wiping to achieve a smooth surface.
Spot cleaning sticky residue with controlled solvent use and minimal pressure
- Choose an inconspicuous test spot and apply minimal solvent to a cloth or cotton swab.
- Gently dab the sticky residue with the cloth or cotton swab, keeping contact short and avoiding direct application to the shell.
- Wipe off right away and check for any pigment transfer or finish dulling after each pass. Stop if you see either.
- Repeat with gentle passes using the cloth or swab if residue lingers, to protect the finish.
- For tacky or adhesive-like residue, stick to multiple light passes instead of one strong one.
Cleaning seams and crevices to lift trapped dirt without forcing gaps wider
Lift trapped dirt from seams and crevices without forcing gaps wider by using the least moisture and least force. Seams and crevices on the key fob shell trap dirt easily, and moisture makes it stick fast. Force can widen these seams and damage the plastic alignment.
Regular wiping misses lint and grime in crevices. These gentle steps remove it safely.
- Tap the key fob shell lightly over a trash bin to dislodge loose dry debris from seams and crevices.
- Use a soft brush to gently sweep trapped dirt out, brushing outward from the seam.
- Dampen a swab slightly with water for minimal moisture, then press it into the crevice to lift stuck dirt.
- Wipe off the lifted dirt right away with a dry swab or cloth to prevent seepage along seam lines.
- Repeat if needed, fully drying the area after each pass.
- Lift dirt out: Swab and brush pull debris free.
- Push dirt deeper: Force or excess moisture packs it in further.
Avoid gap widening, as it can lead to rattling and more dirt entry in the future.
Swab-and-brush technique for seam lines with moisture control and wipe-off timing
- Work in small segments along the seam lines.
- Make a swab or soft-bristled brush slightly damp with cleaner.
- Swab the seam lines, rotating the swab to lift grime. Replace the swab as needed to avoid re-depositing grime.
- Wipe off residue right away with a dry swab. This wipe-off timing reduces seepage risk.
- Do not let liquid enter openings.
- Check that the seam edge feels dry and no dark line remains.
Cleaning around buttons to reduce sticking without deforming rubber edges
Grime can build up on button edges, creating friction that causes sticking. Clean the perimeter around rubber buttons with controlled edge work to ease sticking without deforming or loosening the rubber.
A sticky feel often comes from grime, unlike a mushy or non-click response from other issues. Never lift button pads; keep cleaning to external perimeters.
- Dry-brush button edges and perimeter thoroughly with a clean paintbrush to loosen grime.
- Prepare a swab with minimal moisture, like a lightly dampened cotton swab or microfiber corner.
- Gently swab the edge and perimeter to lift residue without pushing liquid into gaps.
- Do a dry pass with a clean microfiber towel to remove loosened particles.
Stop and reassess if fading appears, tackiness develops, or looseness increases in the rubber.
Light agitation at button edges and icon areas to protect coatings and printed legends
- Test a small spot near printed legends or icons first, as alcohol can cause pigment transfer that may remove or fade them.
- Use light agitation and short strokes at button edges with low pressure.
- Swab carefully around icons and glossy patches with low pressure.
- Follow each pass with an immediate dry wipe.
- Stop if pigment transfer appears on the cloth. Check that printed legends stay intact before continuing.
Drying and post-clean checks so buttons feel normal and seams stay tight
Let the shell air dry at room temperature and run post-clean checks to confirm it's dry and functional, with no residue, moisture, or new sticking. Normal button feel means a consistent press response without drag or uneven action. No heat, no forced air into openings.
- Air dry at room temperature until the surface feels fully dry.
- Buff all surfaces one last time with microfiber; confirm no residue remains.
- Press buttons several times; expect consistent, smooth response.
- Check seams for dampness; they should feel dry to the touch.
- Check seams for streaks; none visible after light wipe.
- Check buttons and edges for residue; no sticky spots.
If anything still feels sticky, repeat the gentle cleaning routine. If button response is inconsistent, stop and evaluate.
When cleaning does not resolve sticking and the cause is likely beyond the shell
Stop cleaning if it fails to fix persistent sticking on the car key shell. The problem may go beyond surface grime, like trapped moisture or internal issues.
Further attempts risk damage from trapped residues. Evaluation works better. Don’t use stronger chemicals.
After gentle cleaning, these signals point to trouble beyond dirt buildup.
- Persistent sticking after multiple gentle cleanings.
- Inconsistent response or non-response from buttons during use.
- Moisture indicators such as fogging visible near shell openings.
- Corrosion-like residue around openings.
- Sticking returns quickly.
Warning: For suspected moisture ingress, avoid further liquid cleaning.
As part of evaluation, check Lifespan and replacement signs for next steps.