Car key shell replacement: safe shell swap and internal transfer
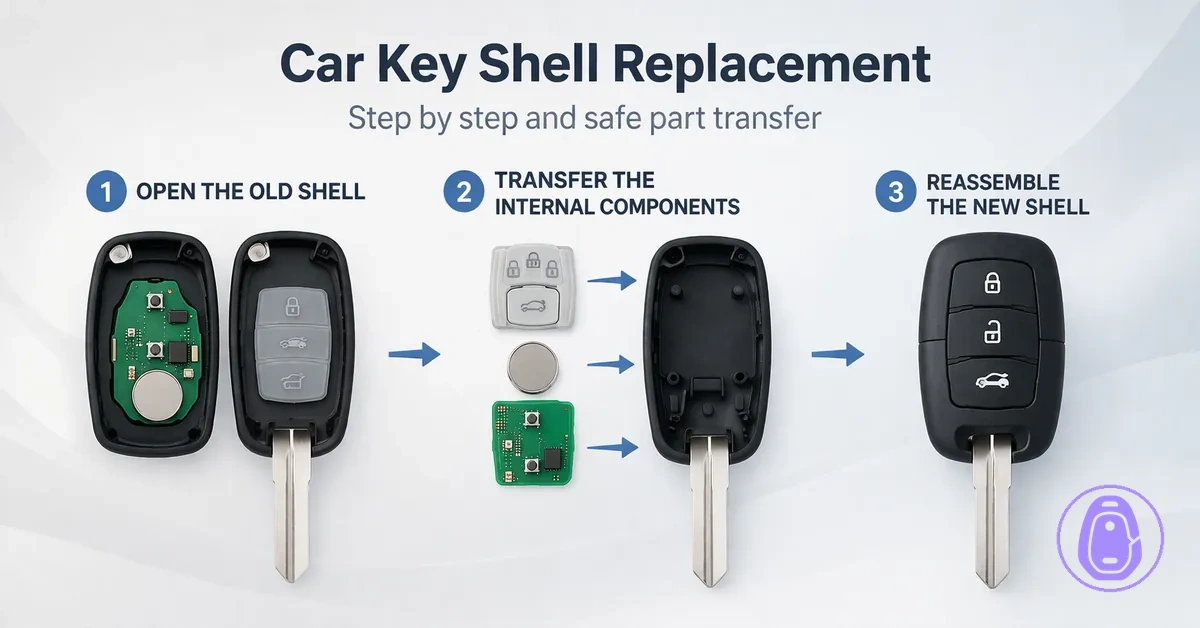
A car key shell replacement means swapping the outer housing of your key fob shell while moving the original internals into the new one. It focuses solely on the physical exterior and skips any electronics replacement or key programming. This keeps things limited to housing swaps that can maintain the key's function.
Cracks in the housing, worn buttons that feel unresponsive, and loose shells that rattle or fail to close commonly prompt a car key shell swap. These problems usually come from everyday pocket carry and drops, not internal issues. The main risks involve mishandling the circuit board, button pad alignment, or battery contacts.
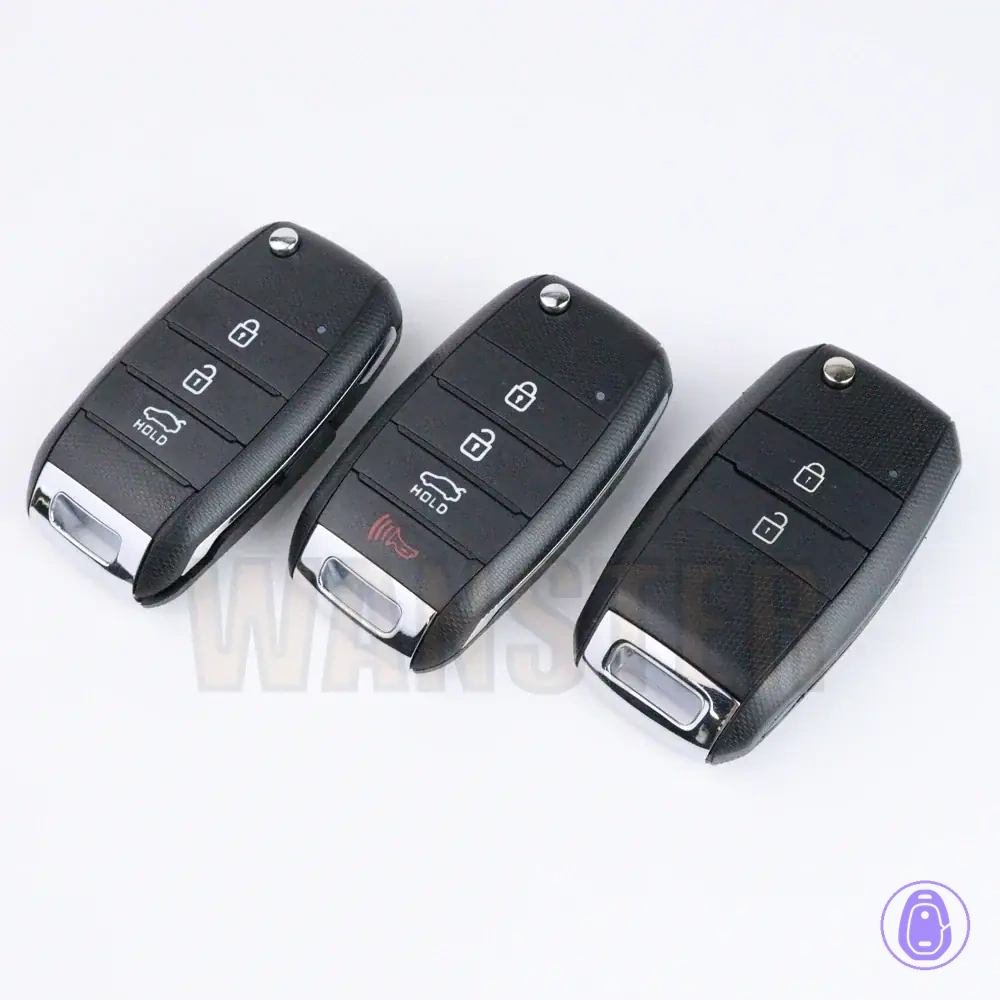
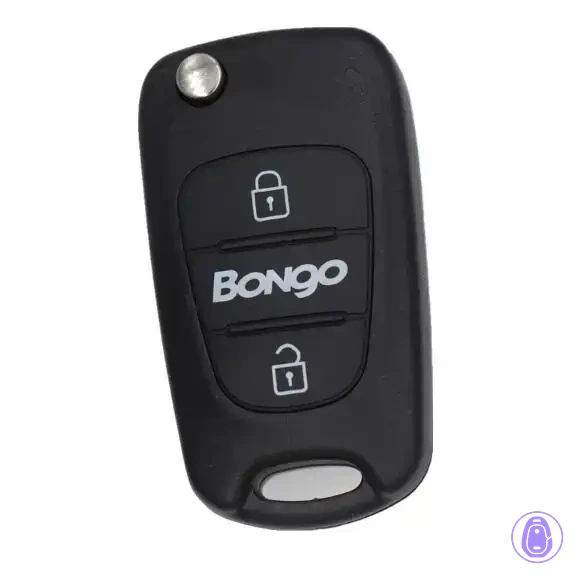
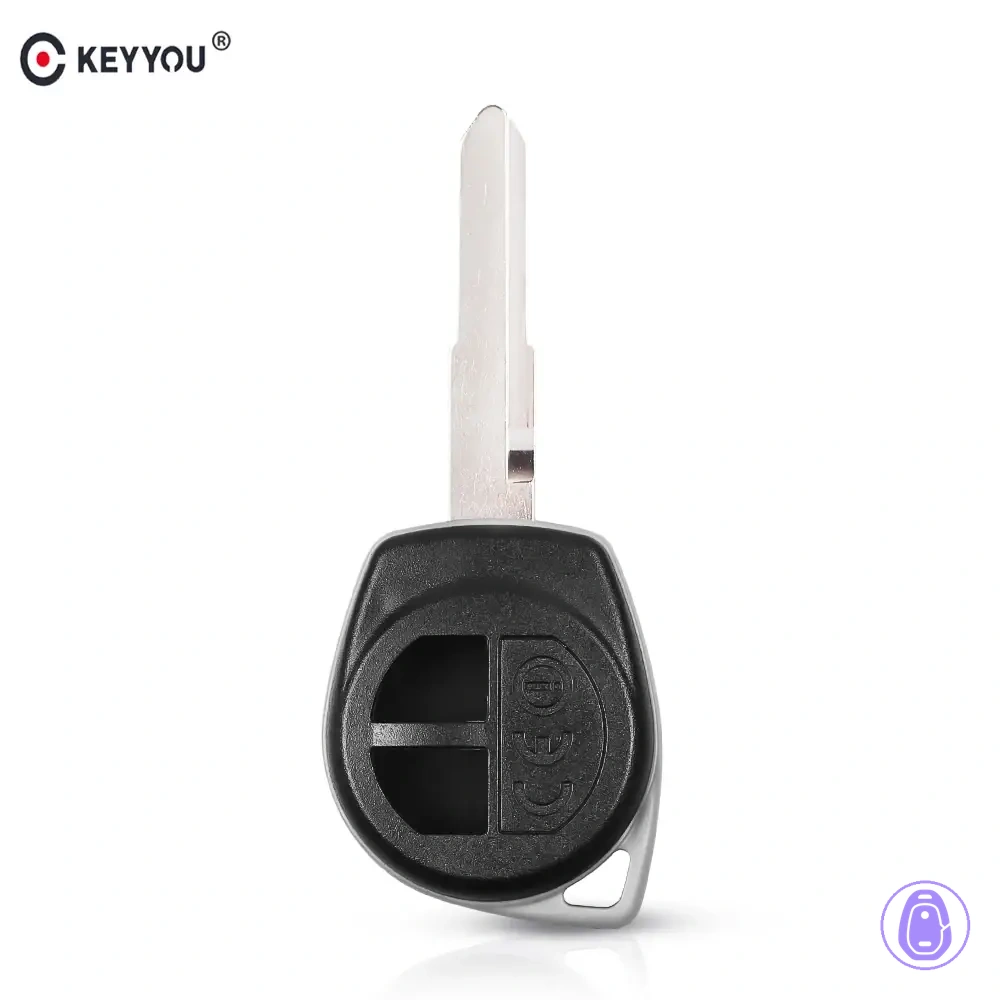
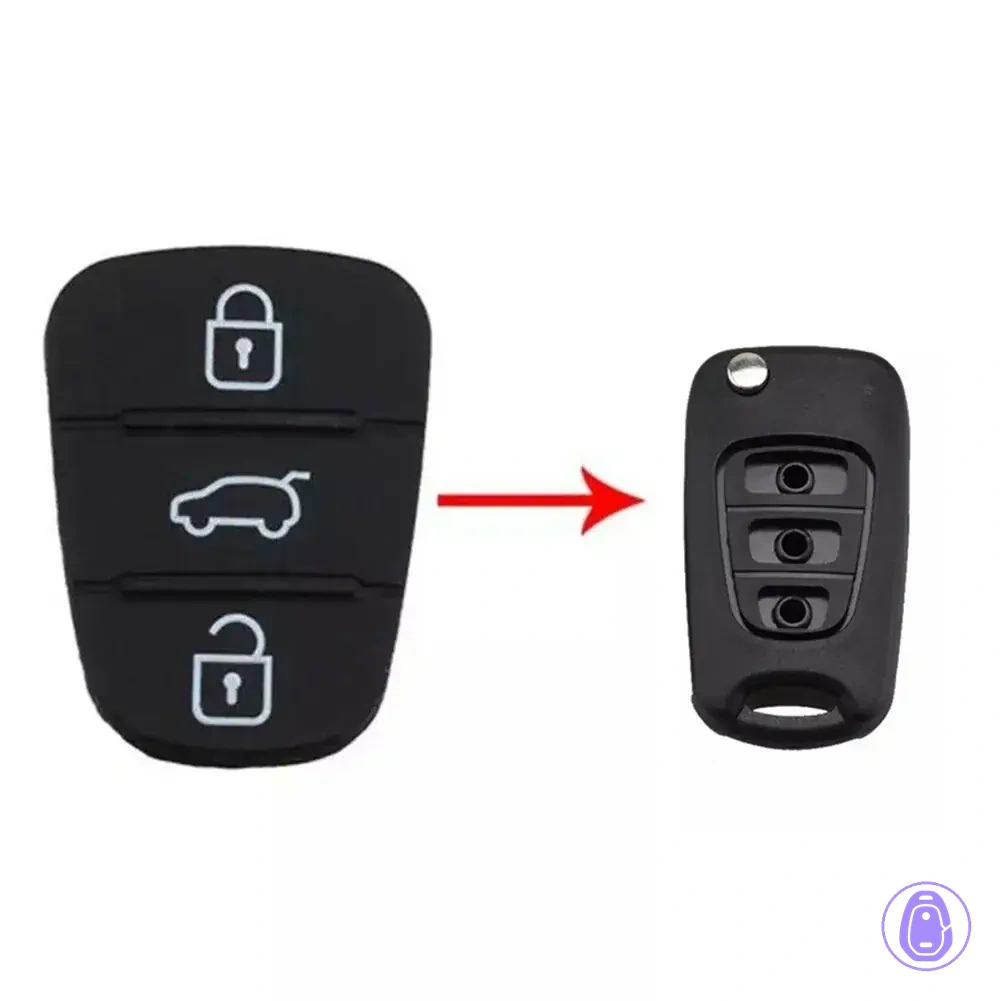
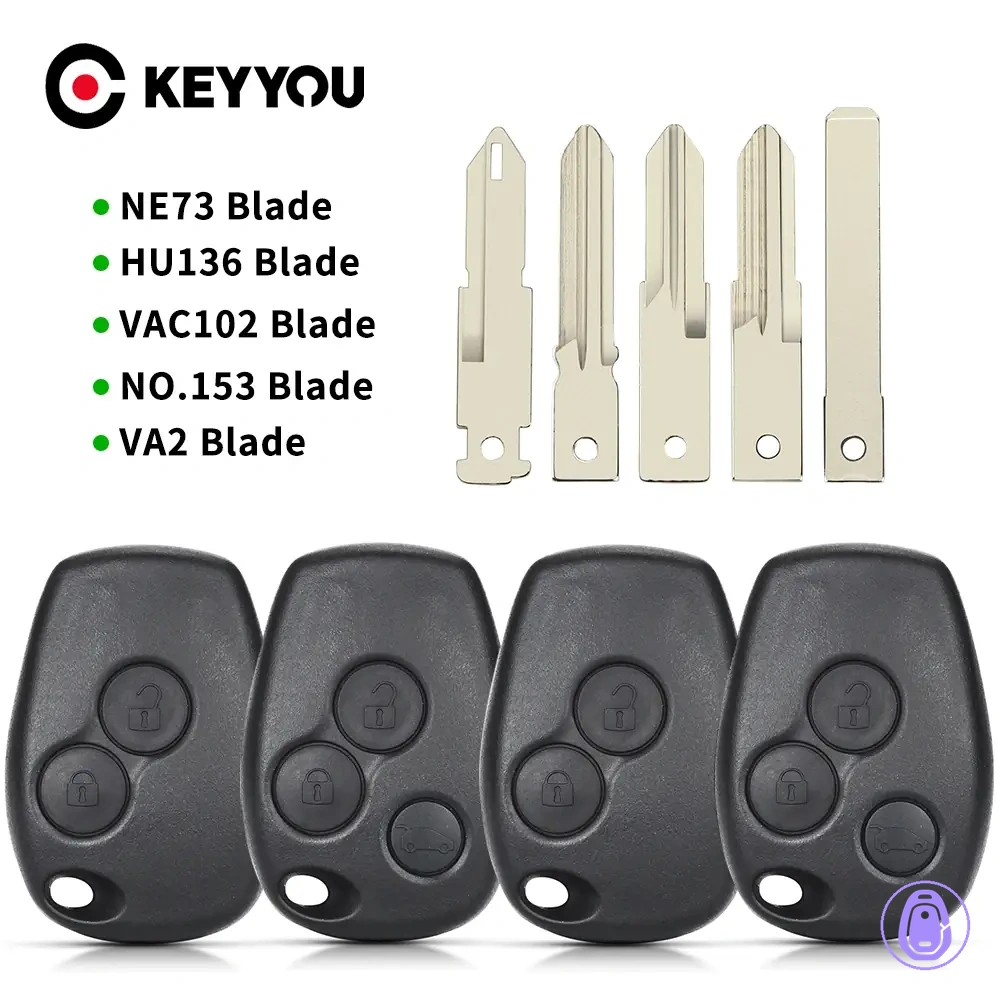
A key fob shell swap succeeds when the new housing matches the original internals, though designs vary and often need a fit check first. Unlike electronics or key programming jobs, it centers on mechanical housing transfer without changing the key's identity. Do not force closure if you meet resistance, as that can crack posts or pinch parts—stop and double-check fit. For full step-by-step guidance, see the Car key shell replacement steps.
- Closure type: clips versus screws that affect opening method and reassembly security
- Button pad or membrane alignment: over circuit board contacts
- Blade slot and hinge or pin design: for proper folding and locking
- Battery seat or tray positioning: and polarity fit
- Internal posts: for circuit board seating and stability
- Overall internals seating: to prevent rattles or gaps
What a Car key shell replacement changes and what stays the same
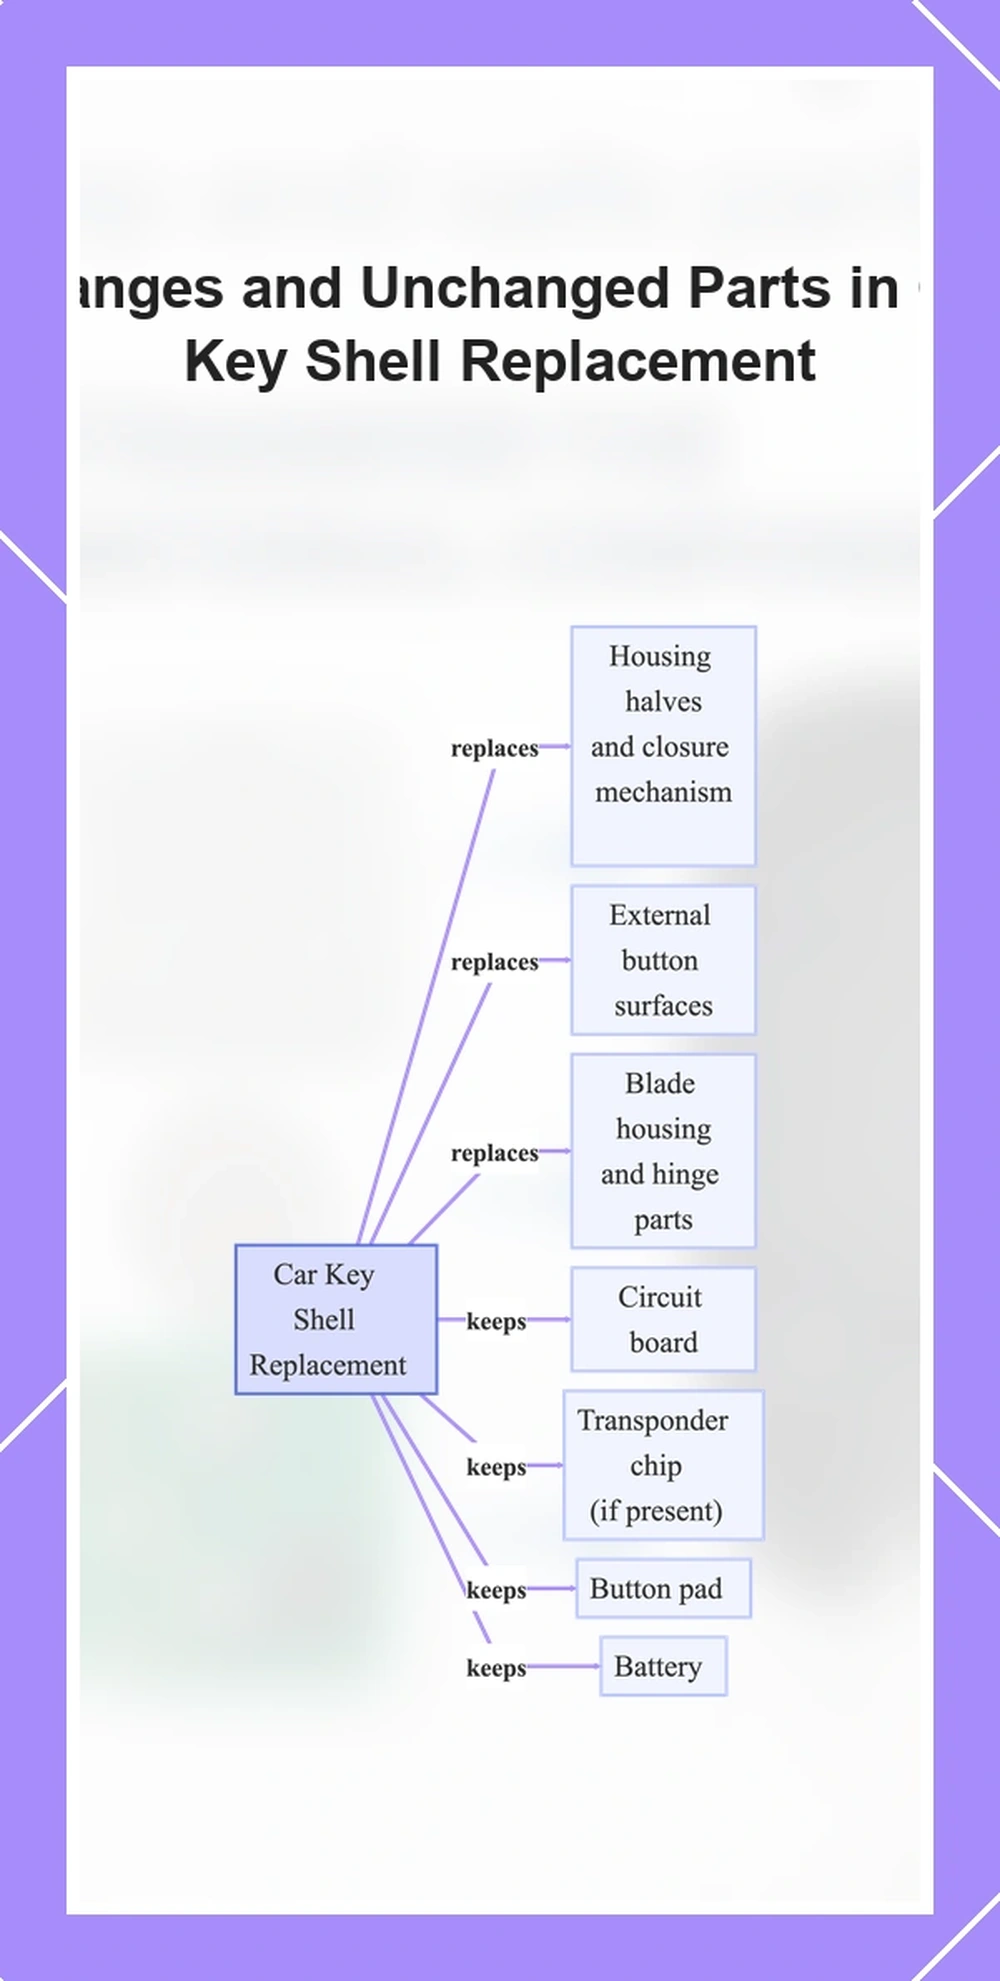
A car key shell replacement swaps the outer housing—its halves and closure mechanism—while internals like the circuit board and battery typically remain unchanged. Unlike full key replacement, it requires no new electronics.
People often think a new shell brings new electronics, but a shell swap transfers the original internals. It does not change the key’s electronics identity unless you replace electronics separately. Programming or immobilizer functions stay outside shell swap scope, as they depend on internals like the transponder if present.
Changes
- Housing halves and closure mechanism
- External button surfaces
- Blade housing and hinge parts
- Button pad housing alignment points
Stays the same
- Circuit board
- Transponder chip (if present)
- Button pad
- Battery
This flowchart shows the housing parts replaced in a car key shell swap and the internals that remain unchanged.
Replacing the housing vs replacing electronics: scope boundaries
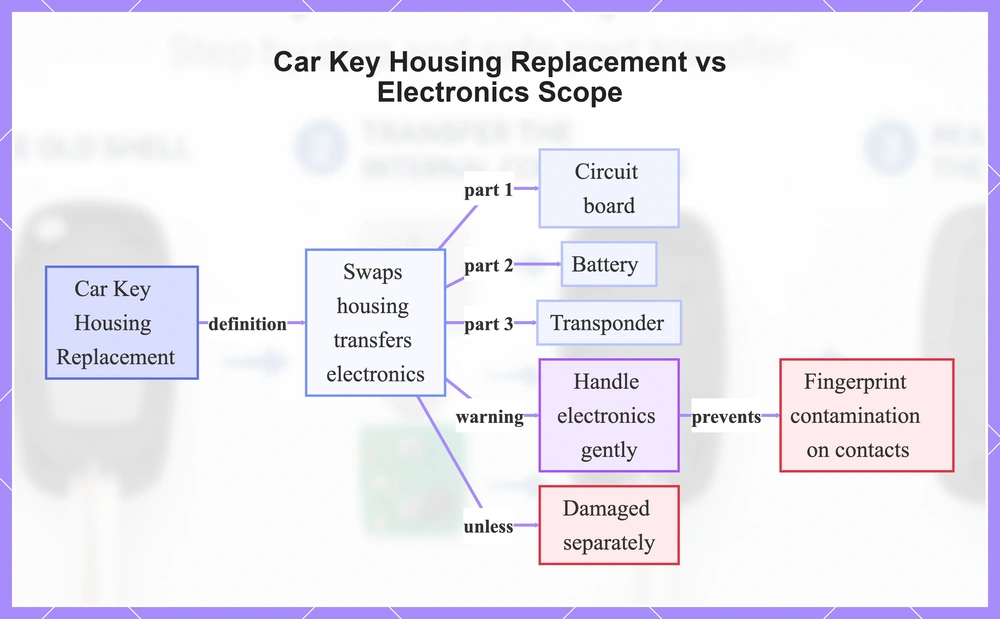
Replacing a Car key shell means swapping the housing while electronics transfer to the new one. The circuit board, battery, and transponder typically remain intact unless damaged separately. Handle electronics gently to avoid contamination from fingerprints on contacts.
- Housing-only handling: outer shell halves, clips or screws, button surfaces
- Electronics handling during transfer: circuit board contacts, battery tray polarity, transponder chip
- Housing-only handling: blade slot and hinge area, closure mechanism
- Electronics handling during transfer: circuit board edges
This flowchart clarifies the scope boundaries of replacing a car key housing versus electronics, what components stay intact, and key handling precautions.
When a shell swap fixes the problem and when it cannot
A car key shell swap handles housing damage such as cracks or loose fits, but typically leaves electronic faults unchanged. Distinguish mechanical issues like a shell that won't close due to broken clips from electronic symptoms such as unresponsive buttons from circuit problems. Check fit first to confirm the problem is housing-related.
| Good candidate for shell replacement | Not a shell-only issue |
|---|---|
|
|
Confirm compatibility before you open the original shell
Check fit first before disassembling the original car key shell. Poor fit can block internals from seating right and derail installation. Mismatched shells often cause internal posts to jam board seating, leaving gaps that won't close or breaking clips.
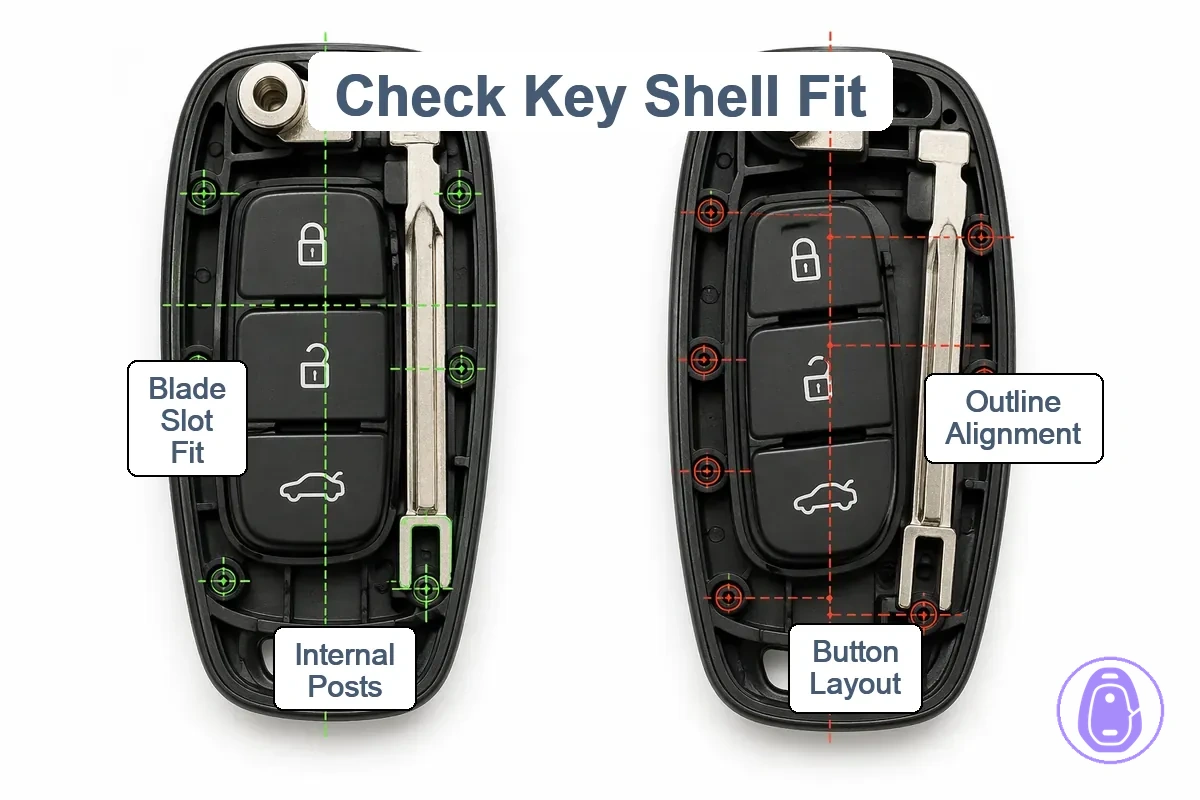
Line up outline, button layout, and internals side by side to verify. Wrong fit raises clip-break risk when opening. Compatibility checks before replacing provide a full fit-check process.
- Does the outline or shell shape align exactly?
- Does the button layout match in count, spacing, and position?
- Do internal posts line up with board seating points?
- Does the blade slot accommodate the blade width and depth?
- Does the hinge or pivot geometry align with the pin location?
- Does the closure mechanism type align, such as clips versus screws?
- Does the battery cavity match tray size and depth?
- Does the circuit board seat flat without rocking?
Looks similar:
- Same overall outline but shifted button layout
- Close blade slot but wrong internal posts
- Matching exterior clips but mismatched hinge pin
Fits internally:
- Button layout presses align with pad
- Internal posts secure board seat evenly
- Blade hinge pivot seats without wobble
Stop if you see… Stop and do not force closure if resistance shows at seams or internals won't seat—this points to mismatch and risks clip damage or internal harm.
Fit points that must match for the replacement shell to work
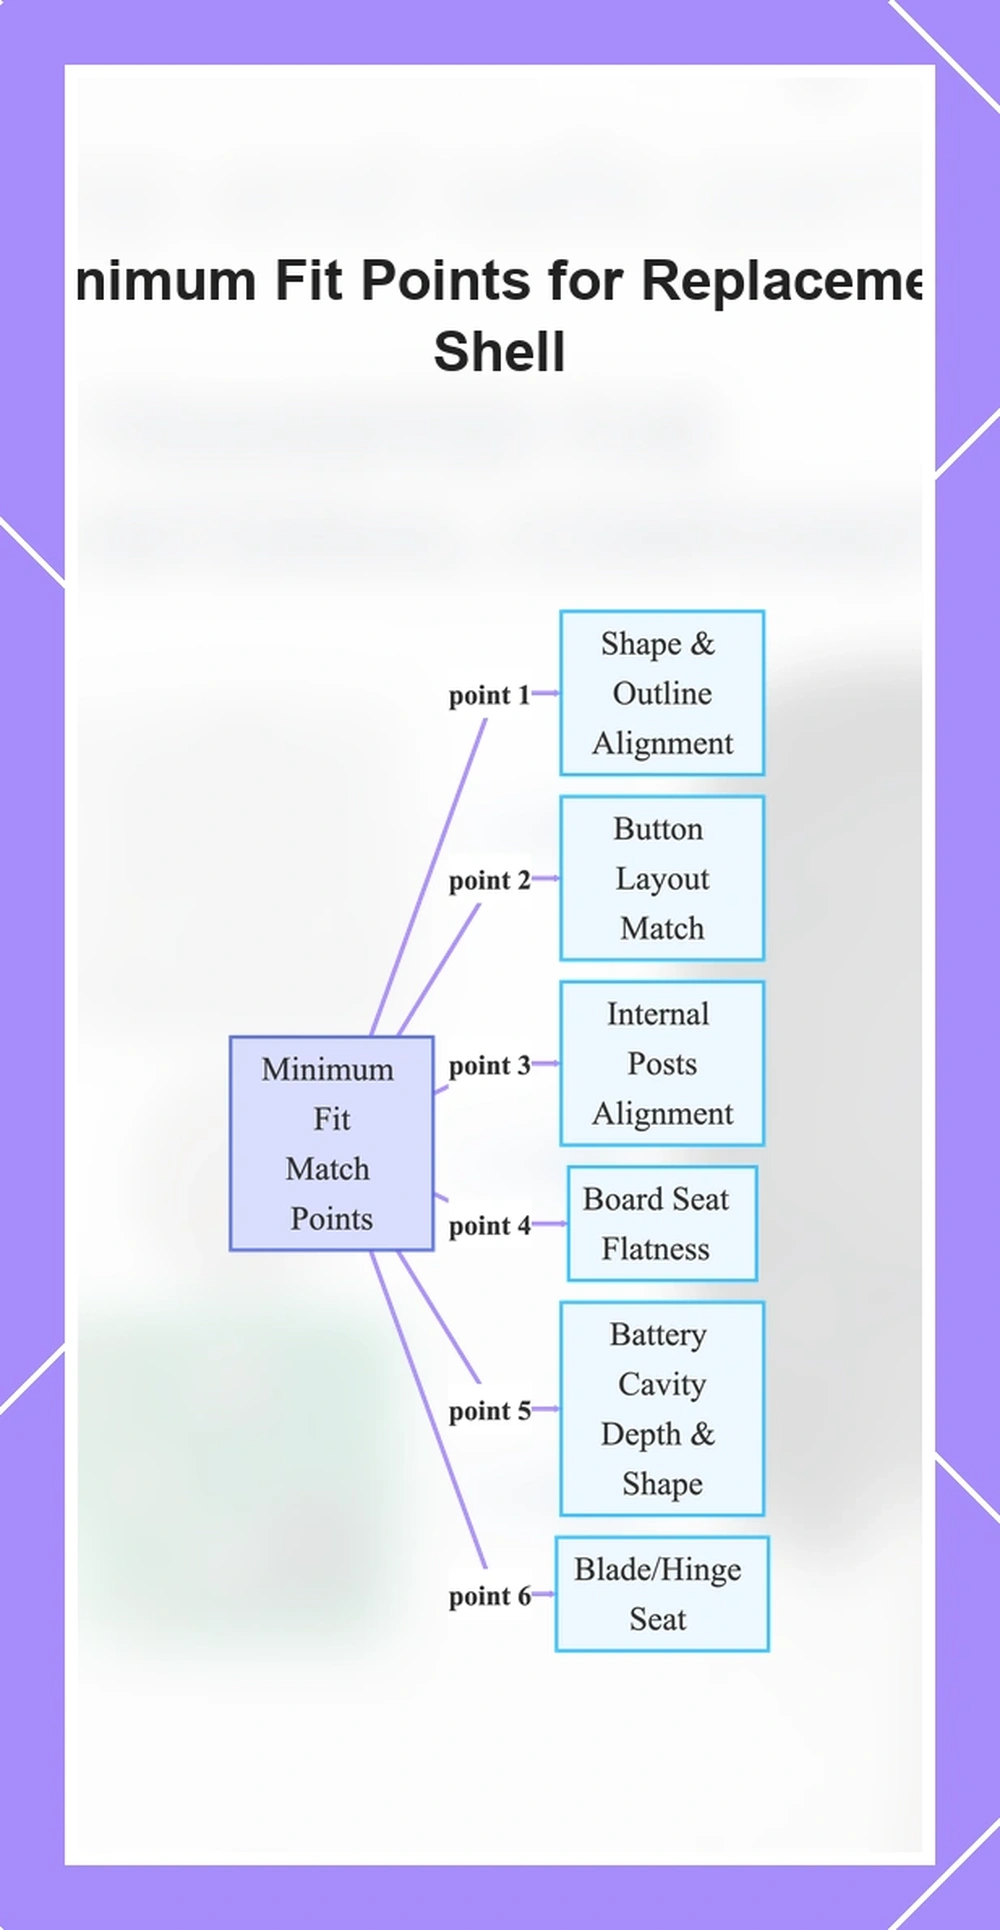
Minimum match points cover exterior match for shape and button layout and interior match for posts, board seat, battery cavity, and blade/hinge seat. These points determine whether internals seat correctly in the new housing. Mismatch often shows as won’t close properly, board rocks loosely, or buttons bind on the pad.
Exterior match
- Overall outline and shape alignment (gaps along edges)
- Button layout over pad position (presses fail to register)
- Button spacing and contour match (inconsistent button presses)
- Surface seam lines (visible offset or poor closure)
Interior match
- Internal posts alignment (most-missed; blocks closure)
- Board seat flatness (board rocks or shifts)
- Battery cavity depth and shape (battery won’t seat)
- Blade slot dimensions (blade binds or wobbles)
- Hinge seat and pivot points (hinge misaligns)
- Internal rib or ledge positions (internals shift)
This chart lists the key exterior and interior match points required for a replacement shell to allow internals to seat correctly.
Stop conditions that signal a wrong-match shell
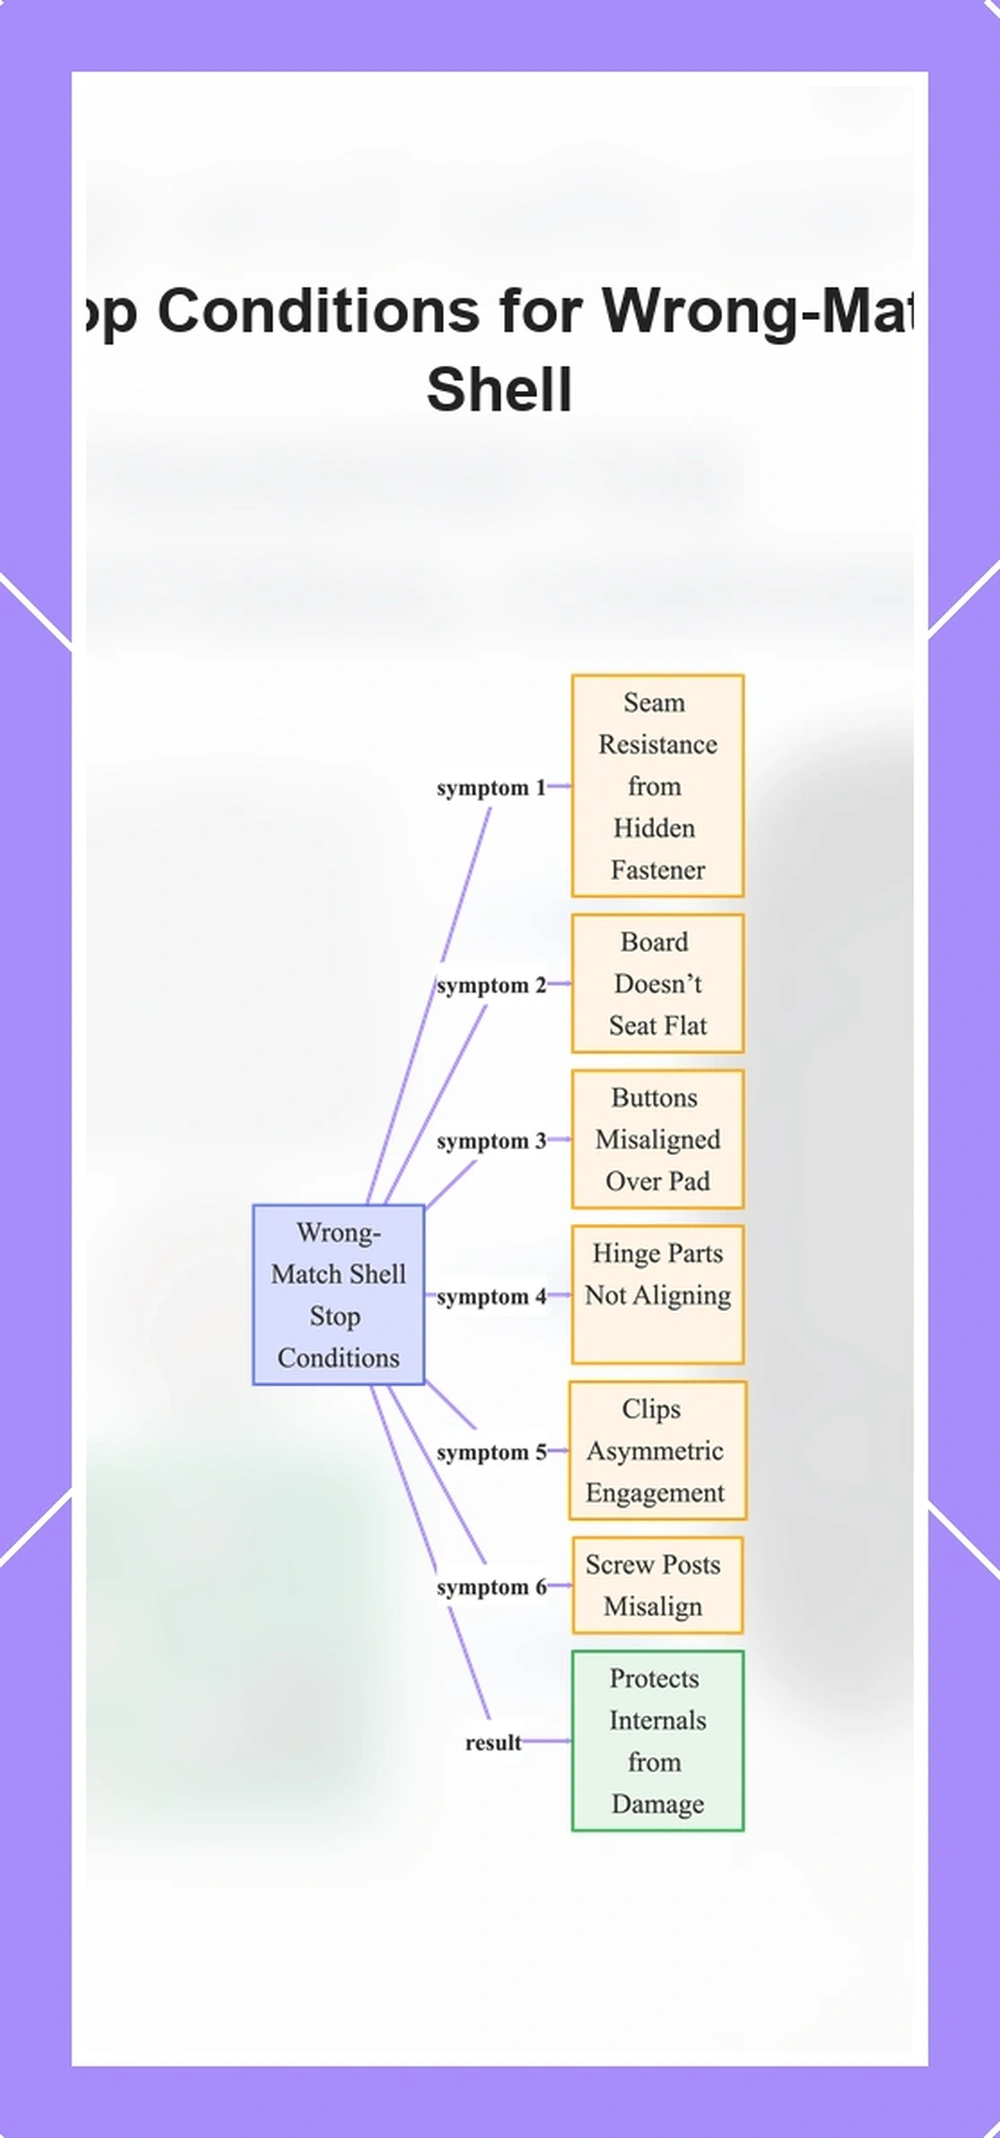
Stopping at mismatch signals protects internals from damage during shell transfer. Pressure to close or seam resistance from a hidden fastener signals mismatch—do not force it.
- If forced closure pressure resists at the seam, stop and verify fit points.
- If the board doesn’t seat flat, stop to avoid bending contacts.
- If buttons misaligned over the pad, stop before pinching the membrane.
- If hinge parts not aligning, stop and check pivot seating.
- If clips show asymmetric engagement, stop to prevent cracking.
- If screw posts misalign, stop and confirm thread match.
- If resistance persists after checks, stop the assembly.
This flowchart shows key stop conditions signaling a wrong-match shell during assembly to protect internals from damage.
Tools and setup for a controlled shell swap
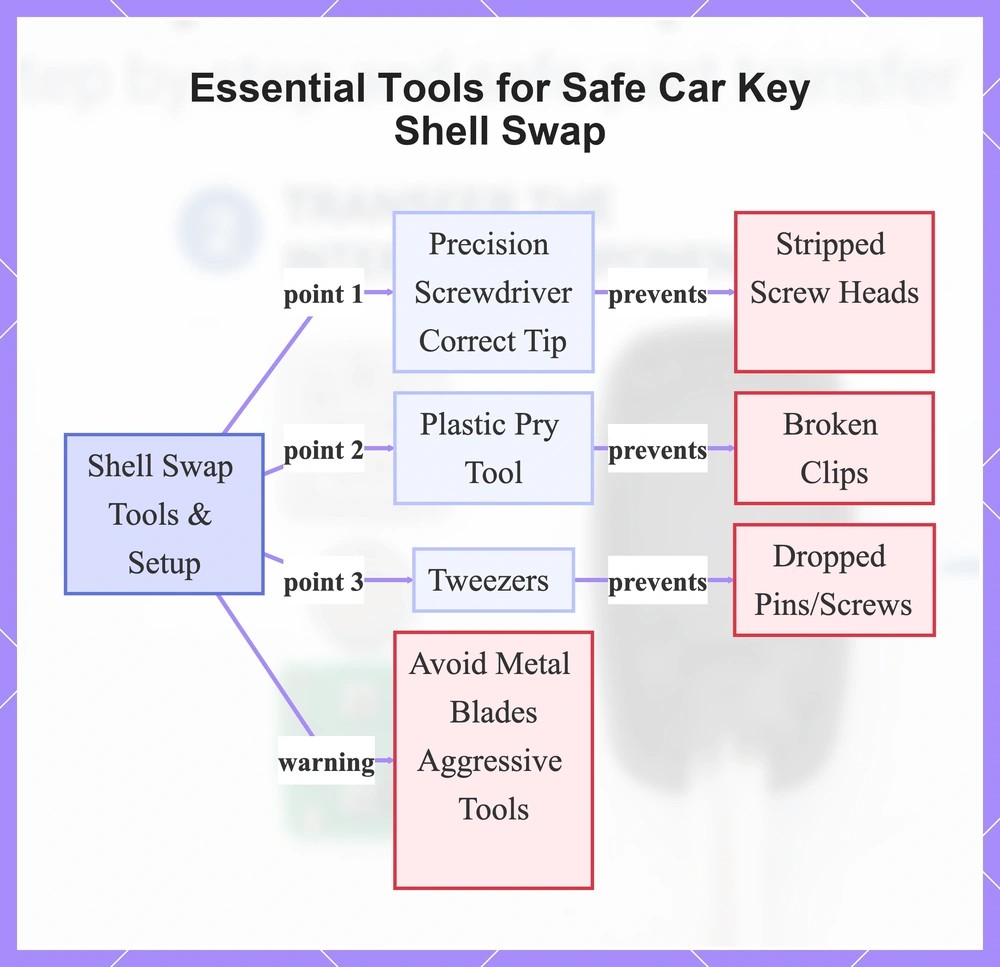
Precision screwdrivers and plastic pry tools lower damage risk to screw posts and clips during car key shell opening and transfer. The right tip avoids stripping threads, while the plastic pry tool protects seams from deformation. Matching equipment to these risks keeps internals safe and housing intact.
Small screws, pins, and clips call for steady hands under bright lighting to avoid loss during transfer. A clean, stable surface aids precise work around delicate contacts and button pads. Key items and roles follow:
- Precision screwdriver with correct tip → helps prevent stripped screw heads → used at screw posts during opening
- Plastic pry tool → helps prevent broken clips → used along seams to separate halves
- Tweezers → helps prevent dropped pins or screws → used for handling small fasteners and internals
- Parts tray → helps prevent lost screws and clips → used to organize components during disassembly
- Cleaning cloth or swab → helps prevent dirty contacts → used on circuit board areas before seating
- Clean workspace mat → helps prevent static or contamination → used as base for all transfer steps
- Avoid metal blades or aggressive tools → helps prevent scratching plastics or shorting contacts → never used near housing or electronics
See the Replacement tools checklist for complete details.
This flowchart shows key tools and setups that prevent specific risks during controlled car key shell swaps, plus a critical warning.
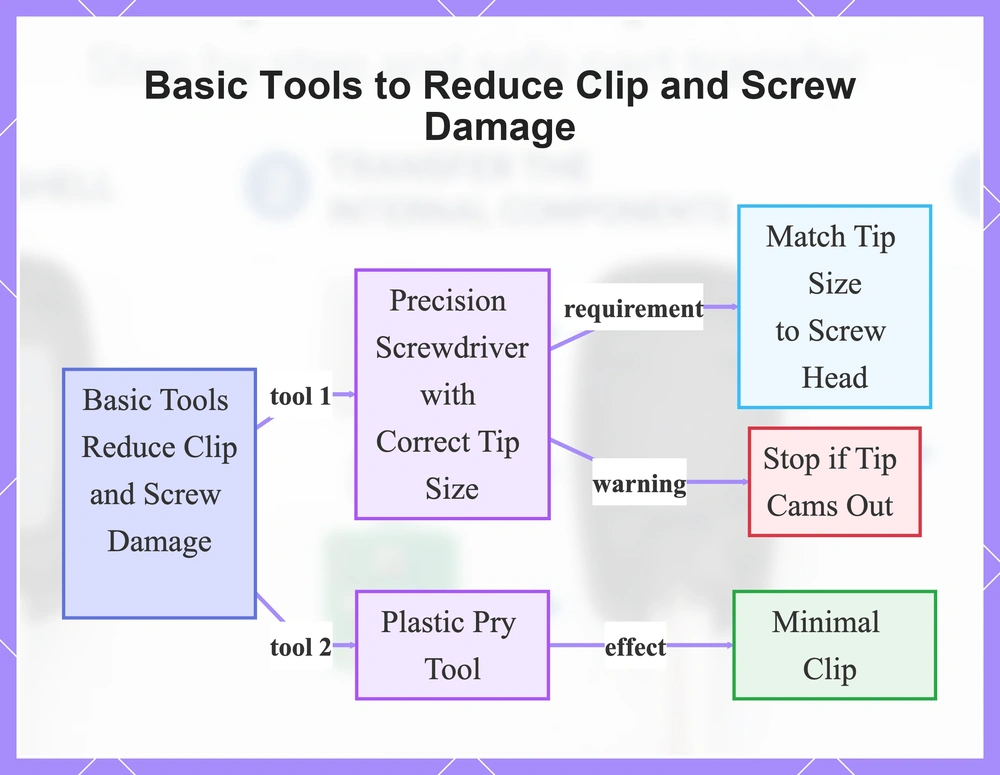
Basic tools that reduce clip and screw damage during opening
Correct tools help cut down gouging of plastics and stripping of screw heads when opening the car key shell.
Match tip size to screw head to avoid cam-out. Stop if the tip cams out.
- Precision screwdriver with correct tip size: helps prevent stripped screw heads during removal.
- Plastic pry tool: slips into the seam to release clips with minimal deformation.
- Parts organizer: keeps small screws from getting lost after removal.
- Tweezers: grips tiny screws or pins securely.
- Flat pry edge: runs along the seam for even clip separation.
This flowchart highlights the essential tools and precautions for preventing damage to clips and screws during car key shell opening.
Workspace control to prevent lost parts and accidental board damage
Losing small screws and pins happens often during a car key shell swap when the workspace lacks organization. These tiny parts can roll away easily, and cluttered areas raise the chance of static or moisture reaching board contacts. Set up your workspace before opening the shell.
- Position bright lighting over your work area to spot small screws and pins clearly.
- Choose a clean surface free of dust or debris that could harm contacts.
- Use a parts tray to capture and sort screws and pins as you remove them.
- Keep hands dry during handling to limit moisture on sensitive contacts.
- Hold the board by its edges only to reduce static buildup.
- Avoid food or drink nearby to prevent spills on internals.
Opening the Car key shell without breaking clips, tabs, or threads
When opening a Car key shell, preserve the clips, tabs, and screw posts to help with reassembly and keep internals safe. Look along the edges for the seam between housing halves. Check if the closure relies on clips or screws to pick the best method.
Resistance usually means hidden fasteners near the seam or edges. Work around the perimeter slowly to release clips or tabs evenly. Stop and check again if separation seems uneven.
- Locate the seam along the housing edge, insert a plastic pry tool at a corner, feel for clip release, and stop if resistance feels firm.
- Gently pry the seam in short segments, listen for even clip or tab release, and stop if one side lags.
- Remove any visible screws with a correct-tip screwdriver before full separation to avoid stripping screw posts, and stop if halves remain tight.
- Separate the halves progressively while supporting internals, feel for smooth release, and stop if hidden fasteners resist.
- Inspect opened halves for remaining tabs or clips, pry only at confirmed points, and stop if flexing creaks.
- Lift internals after separation, confirm no parts stick, and stop to verify components.
Caution: If it doesn’t separate evenly, assume a missed screw or clip.
Clip-closure shells: releasing clips without deforming the housing
Release clips through controlled, incremental separation around the seam with a pry tool. Over-flexing a corner risks cracks in the housing.
- Locate the seam starting point, often at a less reinforced edge or near the keyring loop.
- Insert the pry tool tip into the seam at the start point to release the first clip.
- Progress incrementally around the perimeter to release each clip evenly, rather than forcing one corner.
- Feel for even separation without excess flex as you move to the next clip along the seam.
- Stop if you meet unexpected resistance, which signals a hidden clip or misalignment.
- Confirm all clips along the seam have released before fully separating the halves.
Screw-closure shells: separating halves and protecting screw posts
Keep screw heads and posts intact when separating screw-closure car key shells. A mismatched bit risks stripping the screw head and harming threads on the screw post. Note screw lengths as you take them out.
- Seat the correct bit firmly in the screw head before loosening.
- Loosen each screw with steady, even pressure; if the bit slips, stop and change the tip immediately.
- Organize removed screws by lengths in a parts tray to protect threads from damage.
- Make sure all screws are out by inspecting around the seam.
- Gently separate the halves after verifying no fasteners remain, avoiding force that could crack screw posts or threads.
Transferring internals into the new shell with correct seating
Internal transfer moves the circuit board, button pad or membrane, battery, transponder, and blade or hinge parts into the new car key shell housing to seat them correctly across designs.
Outcomes depend on the original shell configuration, so note the orientation of each part relative to the housing before lifting anything out. Noting it helps maintain circuit board seating on contacts, button pad alignment for presses, battery tray polarity, and blade hinge pin fit.
Transponder chips and hinge pins shift easily during transfer. Handle internals by the edges to avoid contamination on contacts, and Transfer internal components safely for guidance on these risks. Split the process into remove actions first, then seat actions to confirm fit.
- Remove: Lift the circuit board by its edges after noting its orientation; confirm contacts face the correct direction before setting it aside on a clean surface.
- Peel the button pad or membrane straight up while noting its orientation; verify it separates cleanly without stretching.
- Remove the battery from its tray, noting polarity markings; confirm positive and negative orientations match the tray slots.
- Detach the blade from the hinge or pivot pin, observing how it locks; confirm the pin releases without bending.
- Seat: Place the circuit board into the new housing posts; confirm it sits flat with contacts exposed for button pad alignment.
- Position the button pad or membrane over the circuit board contacts; confirm alignment for button presses by checking travel.
- Insert the battery into the tray with correct polarity; confirm it seats securely without wobbling.
- Reattach the blade to the hinge pin; confirm it moves freely through its full range.
- Test overall seating by checking if all parts stay in place; if the shell won’t close after seating, re-check internal posts and board seat before forcing.
Circuit board and contact areas: handling and placement without contamination
Handle the circuit board by its edges to avoid contamination and damage during transfer into the new car key shell. Fingerprints on contacts can cause poor connections, so keep hands clean and dry or use gloves. Confirm contact alignment with seating points before full placement, and avoid touching metal contact points directly.
Do:
- Position the board flat against internal posts for stable seating.
- Lightly wipe contacts with a dry cloth if needed before placement.
- Verify contacts align over their pads without shifting.
Don't:
- Bend or flex the circuit board during handling.
- Allow fingerprints to remain on contact surfaces.
- Press down unevenly on the board edges.
Button pad alignment so presses register consistently after the swap
Button failures after a car key shell swap often come from button pad misalignment or pinching along the seam. This keeps presses from reaching board contacts reliably. Test each button gently before full closure to check consistent response.
- Verify button pad alignment matches housing button layout.
- Seat the pad fully into its groove without twisting.
- Confirm even button travel across the pad.
- Compare buttons for consistent feel and rebound.
- Close shell lightly; test presses for clicking response.
- Check for pinched areas along seam if button sticks.
- Re-seat pad if travel varies or presses not clicking.
Don’t close fully until test-press passes. Click feel may differ; focus on consistent travel.
Battery and blade/hinge components: positioning, pin alignment, and tension control
Seat the battery in its tray first to match polarity and ensure contact seating. Then align the blade with the hinge and pivot points in the new shell. Handle these components carefully to support proper closure and prevent damage during positioning.
- Orient the battery in the tray for correct polarity.
- Confirm battery contacts meet the tray terminals without gaps or bends.
- Seat the hinge pin into the pivot hole so it aligns without force.
- Position the blade to move freely through its range, checking lock engagement and no wobble.
- Test blade folding if present, as hinge pin tension may vary by design.
- Confirm blade locks in open and closed positions.
- If the blade binds, reopen and check hinge seating rather than forcing it.
Reassembly checks before you rely on the key daily
Reassembly checks let you verify mechanical fit right after the housing swap catches poor closure or button problems before everyday use. They cover seam gaps, button travel, and blade lock in typical designs. Start with pre-close checks first.
Outcomes vary by shell design and seating, targeting failures like gaps that won’t close or stuck buttons rather than remote signals. If gaps persist after reseating, re-check compatibility. The checklists below cover pre-close and post-close verifications.
Before fully closing
- Inspect seam alignment for even gaps along the edge line.
- Confirm internals seat flat without rocking on posts.
- Test button travel for smooth press without binding.
- Feel blade lock engagement for secure hold.
- Check battery tray polarity and contact pressure.
- Verify no pinched button pad under housing edges.
After closing
- Examine seam for gaps or flex under light pressure.
- Test button rebound for consistent return across all pads.
- Confirm blade lock holds without wobble.
- Inspect for rattles from loose internals.
- Feel overall closure integrity without creaks.
- Press buttons to detect stuck travel.
Closure integrity: gaps, flex, and clip or screw engagement
Check that the shell closes evenly along the seam without visible gaps or flex under light pressure. Proper closure typically requires no force and shows uniform alignment across the housing.
- Inspect seam for gaps; if found, re-seat components and re-check alignment.
- Feel for flex at closure points; uneven flex may signal poor engagement, so inspect internals.
- Verify symmetric clip engagement with a snap feel; asymmetry may require re-alignment.
- Confirm screw seating flush without over-tightening; raised heads may indicate loose fit.
- Listen for rattle when shaken; persistent noise points to loose internals, re-check seating.
- Examine uneven seam lines; they often tie to misalignment, prompting a seating review.
- Clip closure: Ensure even snap around perimeter without partial release.
- Screw closure: Check threads engage fully for snug, non-wobbly hold.
Button response: travel, rebound, and stuck-press detection
Button problems after shell replacement usually come from mechanical issues like binds or a pinched pad. Test travel and rebound to catch misalignment or pinching before daily use. Compare buttons for consistent feel across all of them.
- Press each button firmly to check travel feel and detect any binds.
- Check rebound by releasing quickly; look for smooth return without sticking.
- Compare travel and rebound across buttons for consistent feel.
- Press and hold to test for sticking near the seam where a pinched pad can occur.
- Check if one button differs; suspect pad seating before electronics.
- Confirm even travel and rebound with repeated presses.
Blade behavior: lock, wobble, and fold smoothness
Verify blade lock engagement and movement smoothness after reassembly for safe handling. If the blade binds, reopen the shell since binding suggests a hinge seating issue.
- Confirm the lock engages fully to hold the blade securely.
- Check for wobble by grasping near the hinge and pivot; slight movement may occur but excessive side play signals poor seating.
- Test fold-out smoothness where the shell design includes a folding blade.
- Test fold-in smoothness to ensure even return without sticking.
- Repeat lock and movement tests several times for consistency.
Replacement mistakes that cause non-working buttons and poor closure
Replacement mistakes usually involve misaligned parts or forceful handling when swapping a car key shell. They cause stuck buttons from pinched pads or shells that won’t close due to gaps. Spot the visible effect first—like uneven seams or unresponsive presses—to find the issue.
People often think force fixes small fit problems, but forcing the closure tends to cause more damage. For example, Replacement mistakes to avoid covers these common patterns. The list below matches each mistake to its effect and a quick check.
- Misaligned button pad → stuck buttons → check if pad grooves line up with housing buttons.
- Pinched pad → inconsistent presses → inspect seam edges for trapped material.
- Board not seated flat → rocks inside shell, gaps → press board gently to confirm it sits level on posts.
- Forcing seam closure → won’t close evenly → stop at resistance and recheck internal alignment.
- Off-center posts → persistent gaps → verify posts match original positions before transfer.
- Pinched pad from rushed seating → stuck buttons after close → lift shell slightly to free and reseat pad.
- Board rocks on uneven posts → button failure → ensure posts align under board corners.
- Force on clips → deformed clips, won’t close → release pressure and confirm clip engagement symmetry.
Misalignment and pinched pads: the most common reasons buttons fail after replacement
Button pad misalignment or off-center internal posts often lead to dead, sticky, or inconsistent presses after reassembly since the membrane fails to contact the board. The pad can catch in the seam during closure and pinch, which blocks even button travel. When buttons respond poorly, reopen the shell to check pad seating and alignment.
- Mistake: Off-center button pad → Sign: Sticky or missed presses → Check: Re-seat pad in groove.
- Mistake: Pad twisted during transfer → Sign: Inconsistent membrane contact → Check: Align orientation before closing.
- Mistake: Seam pinch on membrane edge → Sign: Buttons stick or bind → Check: Smooth edges and re-align.
- Mistake: Board height blocks pad groove → Sign: No rebound on presses → Check: Confirm board seats flat.
- Mistake: Posts misaligned with pad → Sign: Uneven button travel → Check: Re-seat posts in groove.
- Contrast: Button feels stuck often signals seam pinch or groove misalignment, while button feels loose commonly indicates poor membrane seating or off-center pad.
Forcing closure and over-tightening: how new shells crack or warp
Don't assume tighter is always better when closing a car key shell.
Over-tightening creates excess pressure that deforms the housing. Instead, check alignment and seating first.
- Excess pressure on clips causes uneven engagement and deformed clips. Instead, align halves evenly before pressing.
- Over-tightening screw posts cracks them and strips threads. Instead, use the correct bit for a snug fit.
- Forced seam closure warps the seam and creates visible gaps. Instead, check internal seating to prevent warping.
- Sudden resistance or creaking signals housing stress and potential cracks. Instead, stop and recheck internals.
- Over-tightening threads damages them and weakens the hold. Instead, hand-turn the final threads before using a tool.
After replacement: quick triage when buttons do not respond
Buttons not working or unresponsive after replacement call for quick triage that begins with external checks you can see and feel. Press each button to assess travel, rebound, and consistency. Check seam closure alignment and gaps, as they often signal pad misalignment or seating problems.
Reopen only if external checks find no issues, since opening again risks clips or posts. Start with least invasive steps to pinpoint mechanical causes. This decision flow guides verification:
- No click or stuck buttons → pad pinch or misalignment → reseat button pad and check alignment over contacts.
- Won’t close or gaps → seating or posts → verify internal posts and board seating at seams.
- Dead or fully unresponsive buttons → battery seat or contacts → confirm battery position in tray with clean contacts.
- Inconsistent button response → alignment → compare travel and reseat pad evenly.
Caution: Avoid repeated force-close attempts, which can damage clips, screws, or housing.
If mechanical checks pass but buttons stay unresponsive, turn to Troubleshooting after replacement for full symptom-led troubleshooting.
First checks that do not require reopening the shell
Do external checks on the closed shell first. Reopen only if issues persist.
- Check seam for even closure and gaps.
- Test button travel and rebound feel across all buttons for consistency.
- Confirm battery seat position.
- Look for visible gaps or misalignment at edges.
What to verify inside the shell before escalating to troubleshooting
Post-swap button failures in a car key shell often resolve through reseating components. They usually stem from slight shifts during internal transfer that disrupt contact or alignment.
Check pad seating, board flatness, battery contacts, and obstructions with these steps before deeper troubleshooting.
- Verify the button pad seats in the groove and aligns over board contacts.
- Verify the circuit board lies flat on internal posts without rocking or gaps.
- Verify battery contacts seat securely in the tray.
- Verify no obstructions interfere with pad, board, or battery placement.
- Verify the shell closes lightly with consistent button response.
- If repeated reseating doesn’t resolve gaps or misalignment, re-check the fit gate; otherwise seek deeper troubleshooting.